
You can find us in booth 101 at ICRA 2019 (in Montral, Canada), May 20 – 22. Drop by and say hi, check out the demo and tell us what you are working on. We love to hear about all the interesting projects that are going on. See you there!
New products
We will show some new products and prototypes in our booth, come and check them out!
Recent releases
- Crazyflie 2.1
- Motion capture marker deck
- Lighthouse positioning deck
- Multi-ranger deck
- Qi 1.2 wireless charging deck
- Roadrunner
Prototypes
- AI deck - a RISC V powered deck with a camera. Packed with processor power and perfect for visual AI tasks.
- Active marker deck - compatible with the Qualisys motion capture system
Demo
We wanted to create a demo that is as fully automated as possible. We have 8 Crazyflie 2.1 with Lighthouse and Qi charger decks, each with a charging pad. A computer will orchestrate the Crazyflies and make sure one is flying at all times while the others re-charge their batteries on their pads. After a pre-programmed trajectory is finished or when the battery of the flying Crazyflie is depleted it goes back to its pad while another one takes over.
We use a computer for orchestration (we call it the Control tower) that controls when the Crazyflies take off. The communication between the computer and the Crazyflies is handled by a Crazyradio. When a Crazyflie has started, it runs its trajectory a fixed number of times or until it is low on battery. Basic state data is continuously transmitted from the quadrotors to the Control tower.
The Crazyflie firmware
The Crazyflies are fairly automated and are mainly controlled by simple commands from the controll tower. The demo app implements a state machine where most state transitions are automatic, while a few require input from the control tower.
Initialization
When a Crazyflie is booted, it performs the normal initialization tests and waits for the positioning system to find its position. When it has position lock it is ready for action.
Taking off
When it is time to fly, the control tower asks a Crazyflie to take off. At this point the Crazyflie records its current position (for landing purposes), takes off and hovers above the charging pad. It is now ready to fly.
Flying
The Control tower sends a start signal to the Crazyflie which then goes to the first coordinate of the pre-programmed trajectory. When at the starting point it runs the pre-programmed trajectory, a set number of times.
Out of battery and landing
When the trajectoyr has been repeated the set number of times, the battery is low, or if the Control tower sends a landing command, the Crazyflie finishes the current trajectory and when it reaches the end, it uses the coordinate that was recorded at lake off, to find its way home. It hovers above the charging pad a few seconds to stabilize the position before it lands.
When landed it verifies that it is on the charging pad and that the battery is actually charging. If not, it will take off again and repeat the landing procedure.
Crash detection
The Situation awareness sub system is used to detect if the Crazyflie has crashed. If this is the case, the motors are stopped and the state machine is moved to a permanent crash state, awaiting human help.
The trajectory
The trajectory is pre-programed and hard coded in the app. It is handled by the High level commander that uses the Mellinger controller for control.
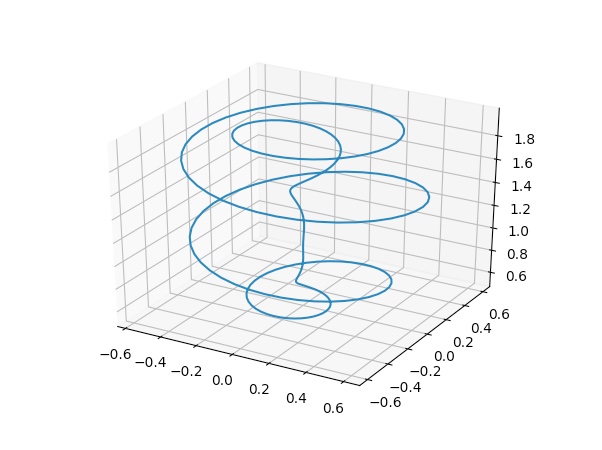
The trajectory is designed as a downwards spiral with a return path up in the center. It makes it possible to fly multiple (at least up to 4) Crazyflies at the same time at different phases of the trajectory, without colliding or getting into the down wash of another quadrotor.
The timing of the trajectory is good enough to start multiple Crazyflies and keep them running without any further adjustments.
The control tower
The Control tower is responsible for starting Crazyflies at the correct moment. In normal operation one Crazyfly is flying all the time and with 7 Crazyflies charging it is possible to maintain continuous operation.
It is possible to run the Control tower with more than one quadrotor active simultaneously, when it tries to slot them in equally spaced in the trajectory. It (sort of) works with up to 4 Crazyflies at the same time, but the risk of failure increases with the number of copters (which makes it more fun!).
There is also a synchronous mode where multiple Crazyflies are started side by side to fly the trajectory in parallel. This mode does not support live replacements when the batteries are out though.
Implementation
The Control tower is implemented in python using the Crazyflie python lib. It is based on a main control loop that evaluates the current situation in every iteration and takes appropriate action based on the state of the available quadrotors.
Each Crazyflie is monitored and controlled by a Controller that runs in its own thread. The most basic functionality is to keep the connection with the Crazyflie alive and reconnect when needed. When connected, logging is set up for the current state in the remote state machine, battery level as well as the current progress in the trajectory. The Controllers also have functions for sending commands to the Crazyflies.
The main loop queries the Controllers of the current state to determine if any action is needed. Basically it checks if the correct number of Crazyflies are flying. If not it will prepare the required number of Crazyflies by sending the take off command and eventually slot them in the flight pattern at the appropriate time. Only Crazyflies with a charged battery are taken into consideration for flight.
The control tower does not store an internal state, other than what it receives from the Crazyflies through the logging sub system. This makes it very robust and it can be restarted at any time without any further implications. This is also true for the Crazyflies that can be restarted at any time.
Products used in the demo
The following products were used in the demo, they are available for purchase in our store.
The Crazyflie 2.1
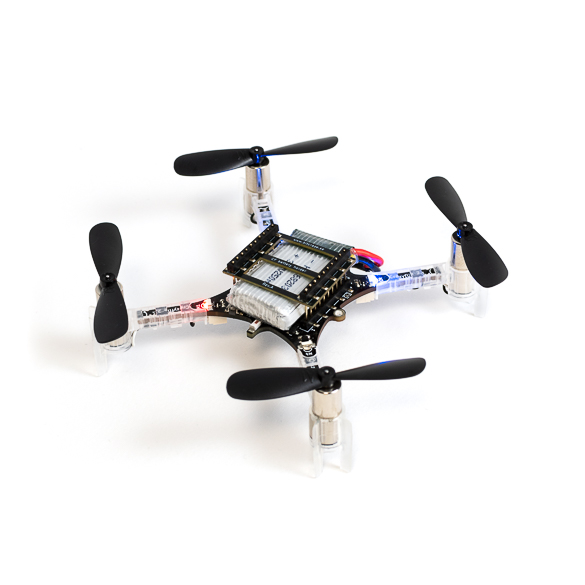
The Crazyflie 2.1 is a small, flexible quadrotor, suitable for research and education. The small size and light weight makes it safe and robust if crashing, while the open source software opens up the possibility to modify or examine any part of the functionality.
The Lighthouse positioning system
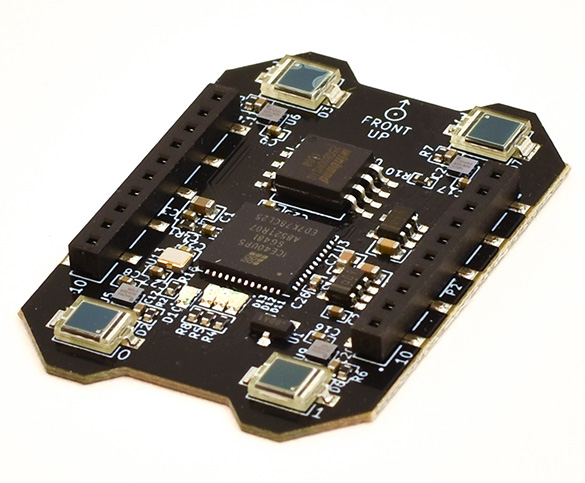
The Lighthouse Positioning System is based on the Valve Lighthouse base stations, used in the HTC Vive Virtual Reality gaming kit. It has very high precision and accuracy to an affordable price, making it possible to use in any office or class room. The position is estimated in the Crazyflie quadrotor which makes the system robust and easy to use.
The Qi 1.2 wireless charging deck
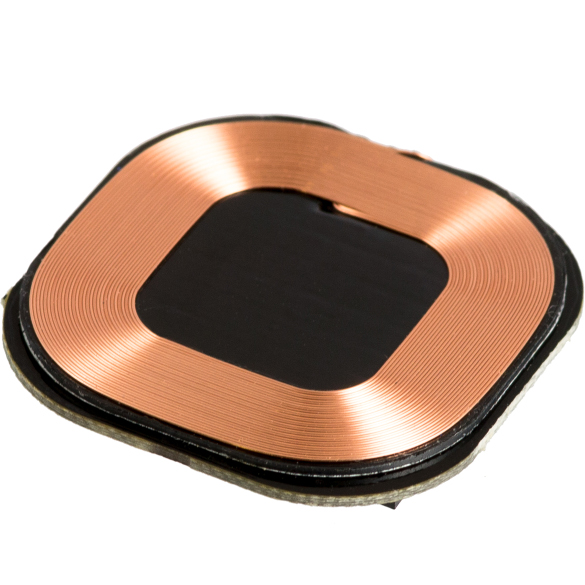
The Qi 1.2 wireless charging deck uses the same standard as mobile phones which makes it easy to find a compatible charger.
The Crazyradio PA
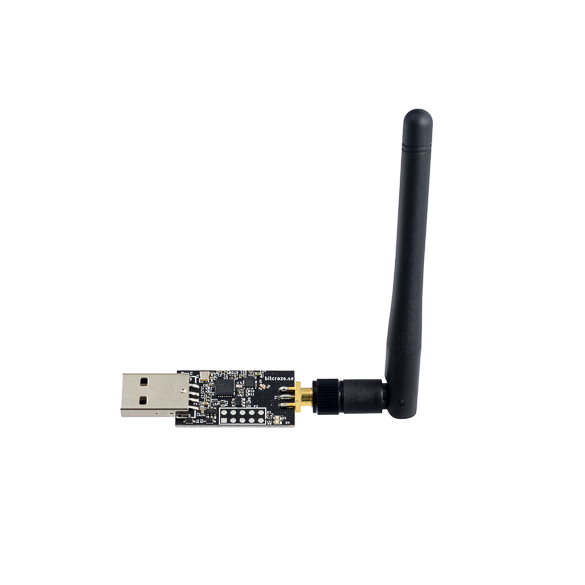
The Crazyradio PA is a USB dongle radio that is used to communicate with the Crazyflie. It supports up to 800 packets/s to multiple Crazyflies simultaneously.
The charging pad
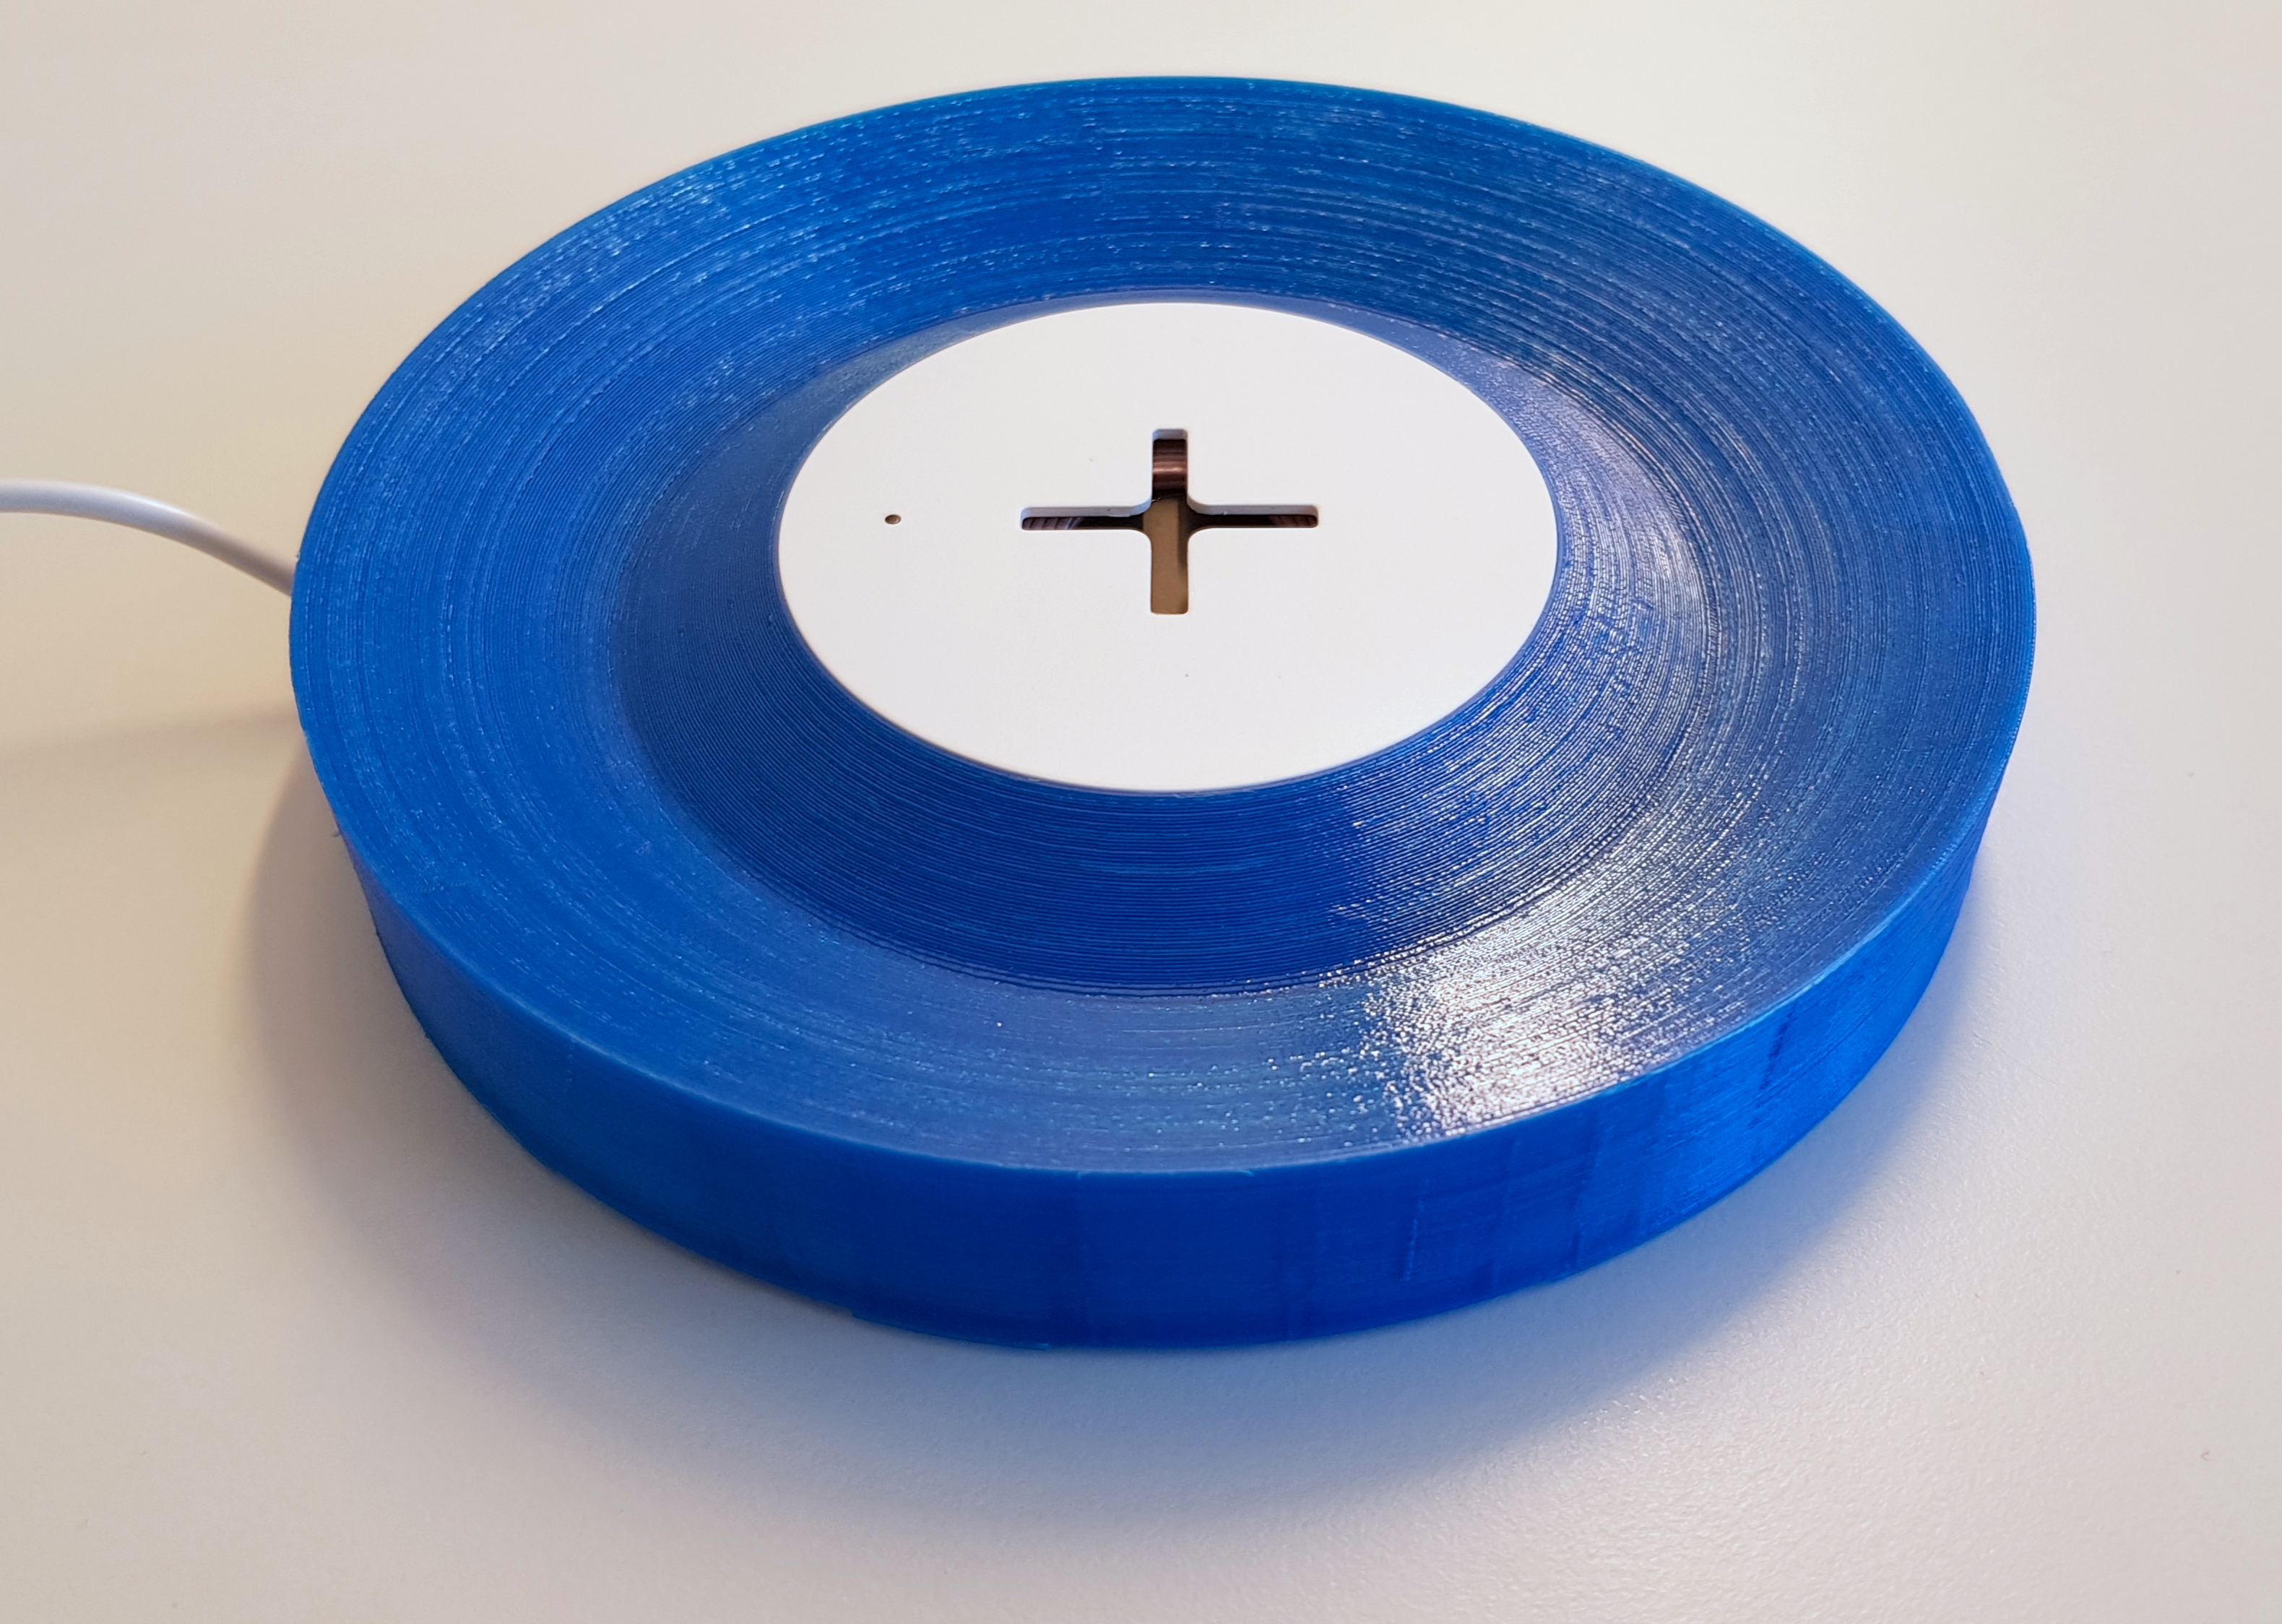
The charging pads are based on the wireless charger “NORDMÄRKE” from IKEA with a 3D-printed pad. The FreeCad and stl files for the pad are available on GitHub in Landing_pad_rallen_v5.fcstd and Landing_pad_v5.stl.
The source code
The source code for the demo is available on GitHub. Most of the functionality in the firmware is implemented in app.c and the Control tower is implemented in control_tower.py.
The Cage
As required in most venues, we had a cage around our demo. It was a new design and we got a few questions from visitors on how it was constructed. We added this section when we got home to share what we did.
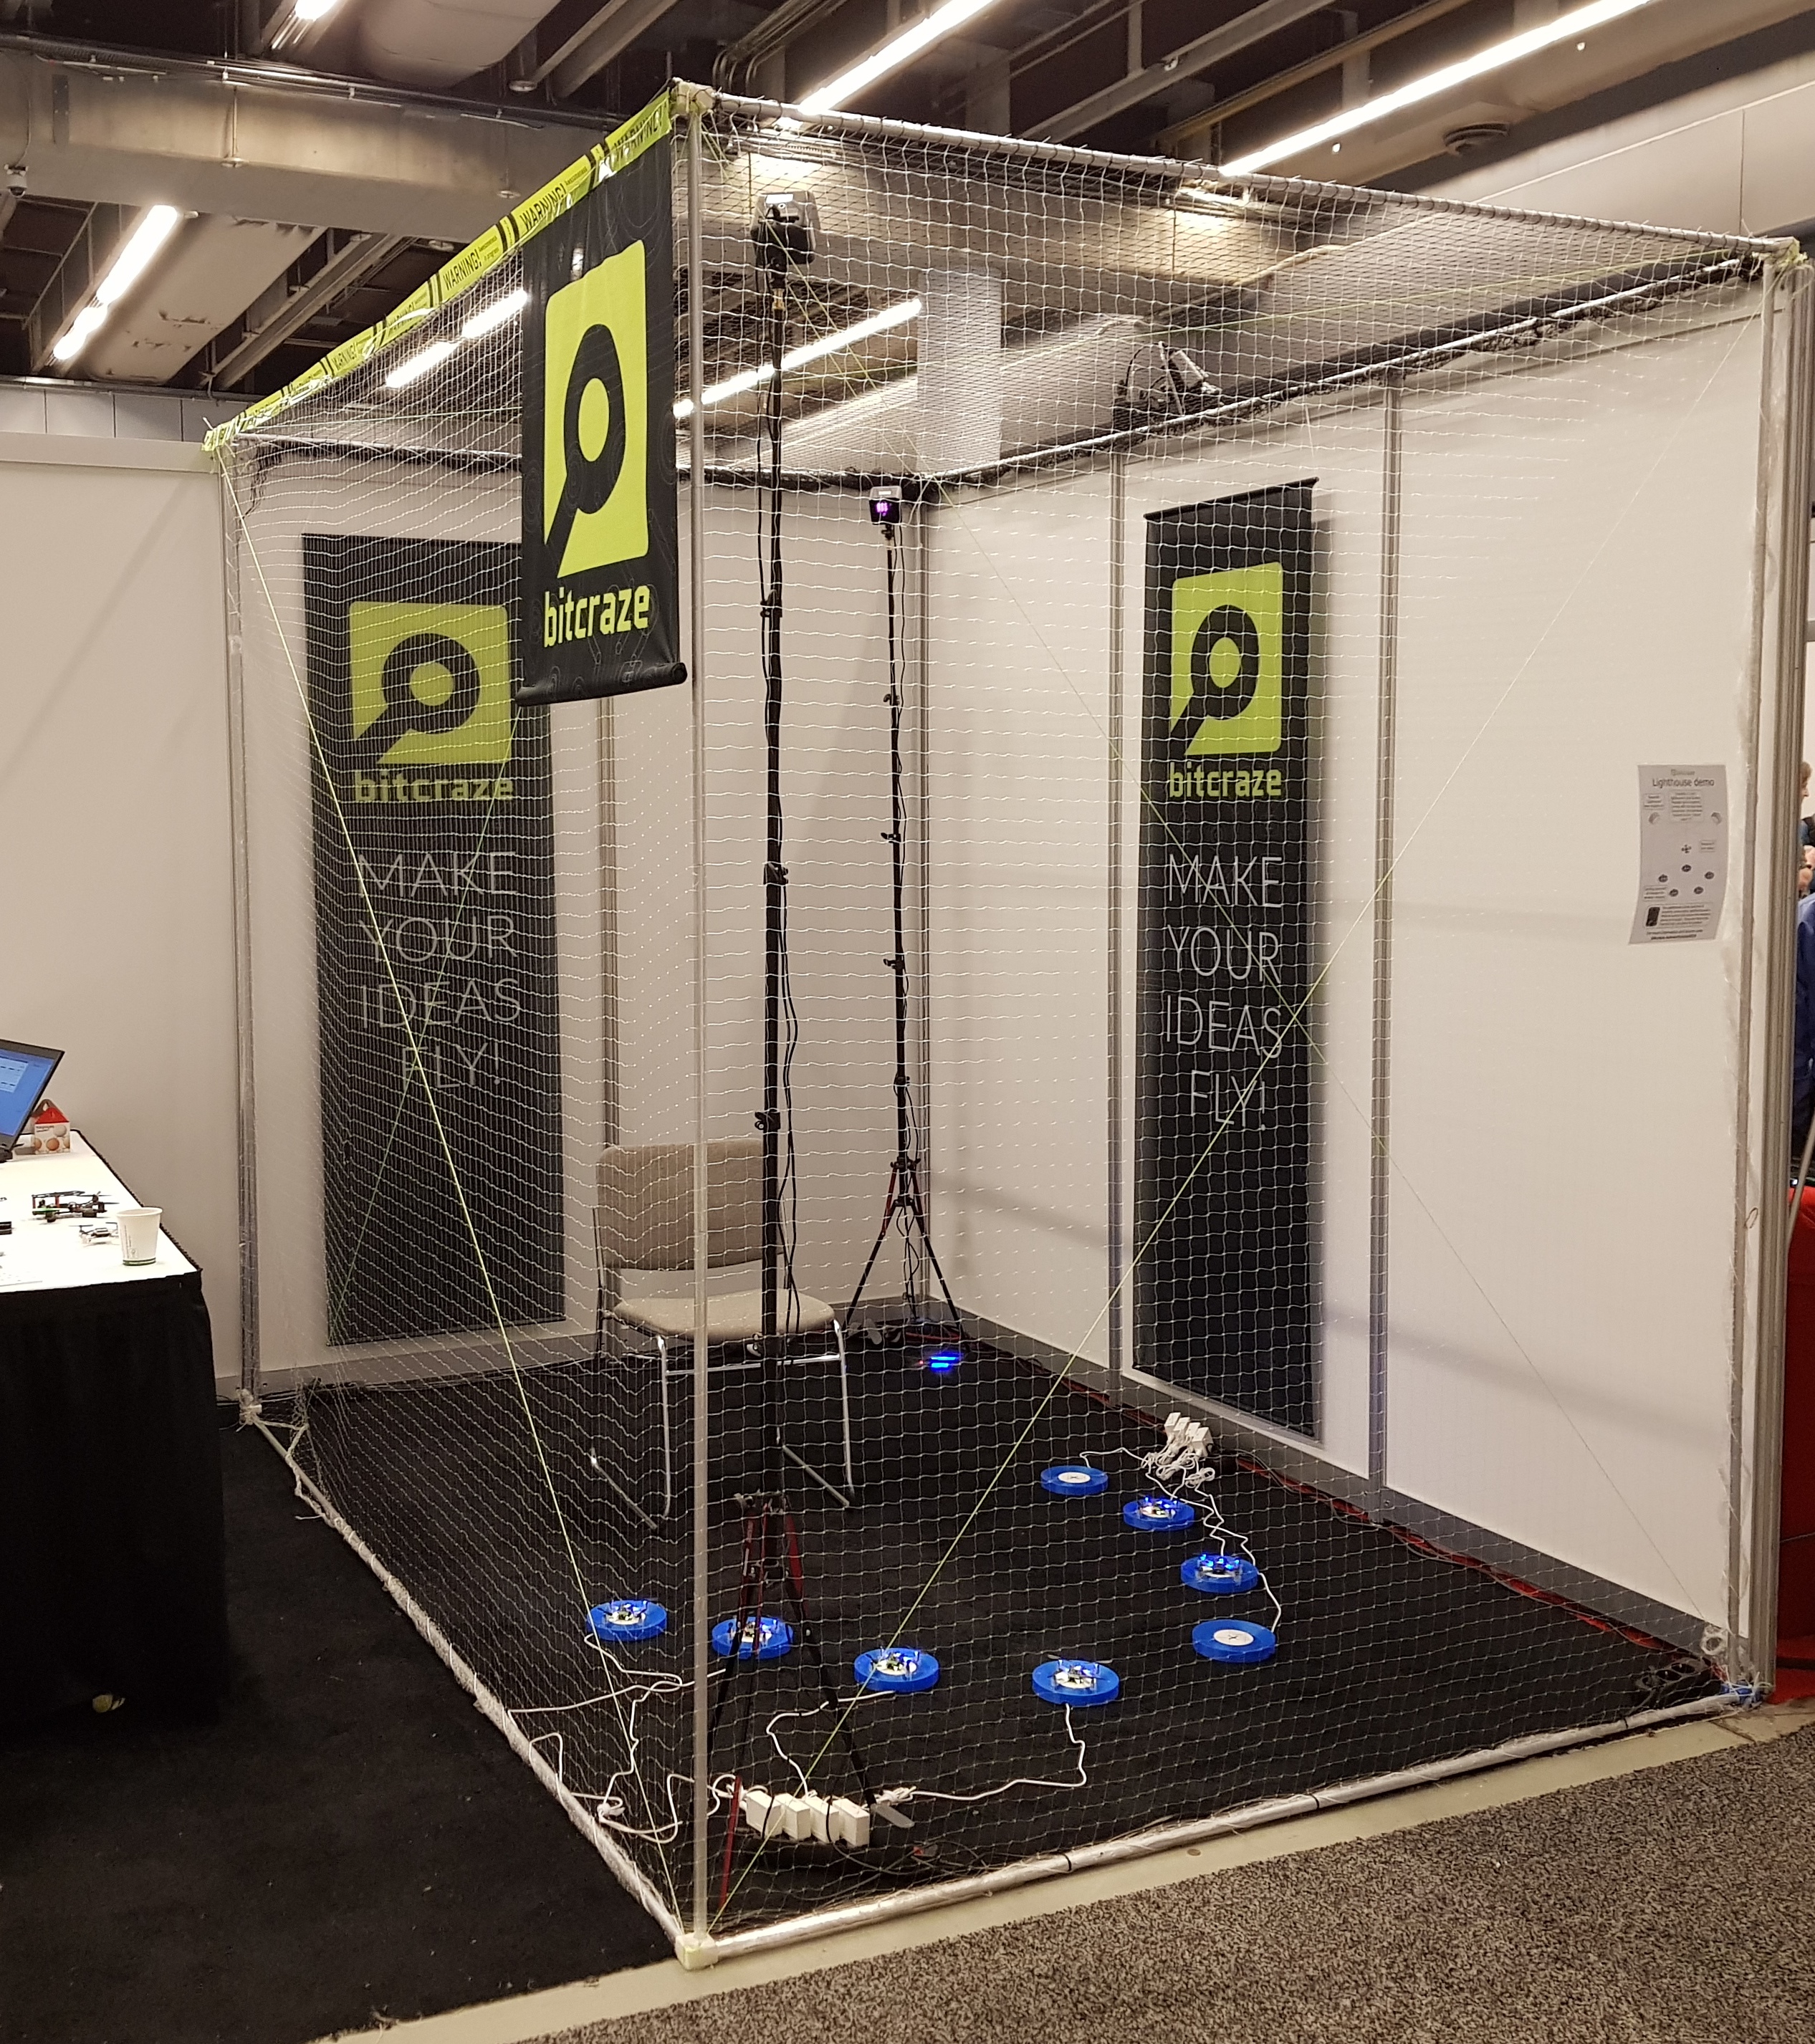
Our requirements were that it should be light weight, fit in a suitcase, be flexible in size, easy set up and not too expensive. The cage had a foot print of 2 x 3 meters, and was 2.5 meters high.
The frame is made from 50 cm long aluminium tubes (outer diameter of 18 mm, inner diameter of 15 mm). The tubes are joined by 15 cm long aluminium tubes (outer diameter 15 mm) that are inserted half way and taped to the larger tube. We 3D-printed corners with holes for the tubes. To make the frame rigid, strings were tied across the diagonals on sides as well as in the ceiling.
We used light weight nets (cat nets) that were tied to the frame with strings. We had nets in the ceiling but only on two sides since the other two sides had walls. The frame was attached to the walls to make sure it did not move.
We had a “door” in the left corner made from 2 m of the same tubes used for the frame. The top of the tube was attached to the frame with tape, creating a “hinge”. The side of the net was attached to the door tube instead of the frame, thus creating an opening when moved to the side and closing automatically when released.
The design will enable us to build cages in the future with a maximum size of 4 x 4 meters, up to 3 m high. We are fairly happy with the functionality after using it, but will try to find a better solution to attach the nets to the frame, possibly using hooks or some other quick lock device.
FreeCAD and STL files for printing the corners are available on GitHub