2021 is coming to an end. As we’re about to flip the page on a new calendar, let’s take a look at what happened during this past year.

Community
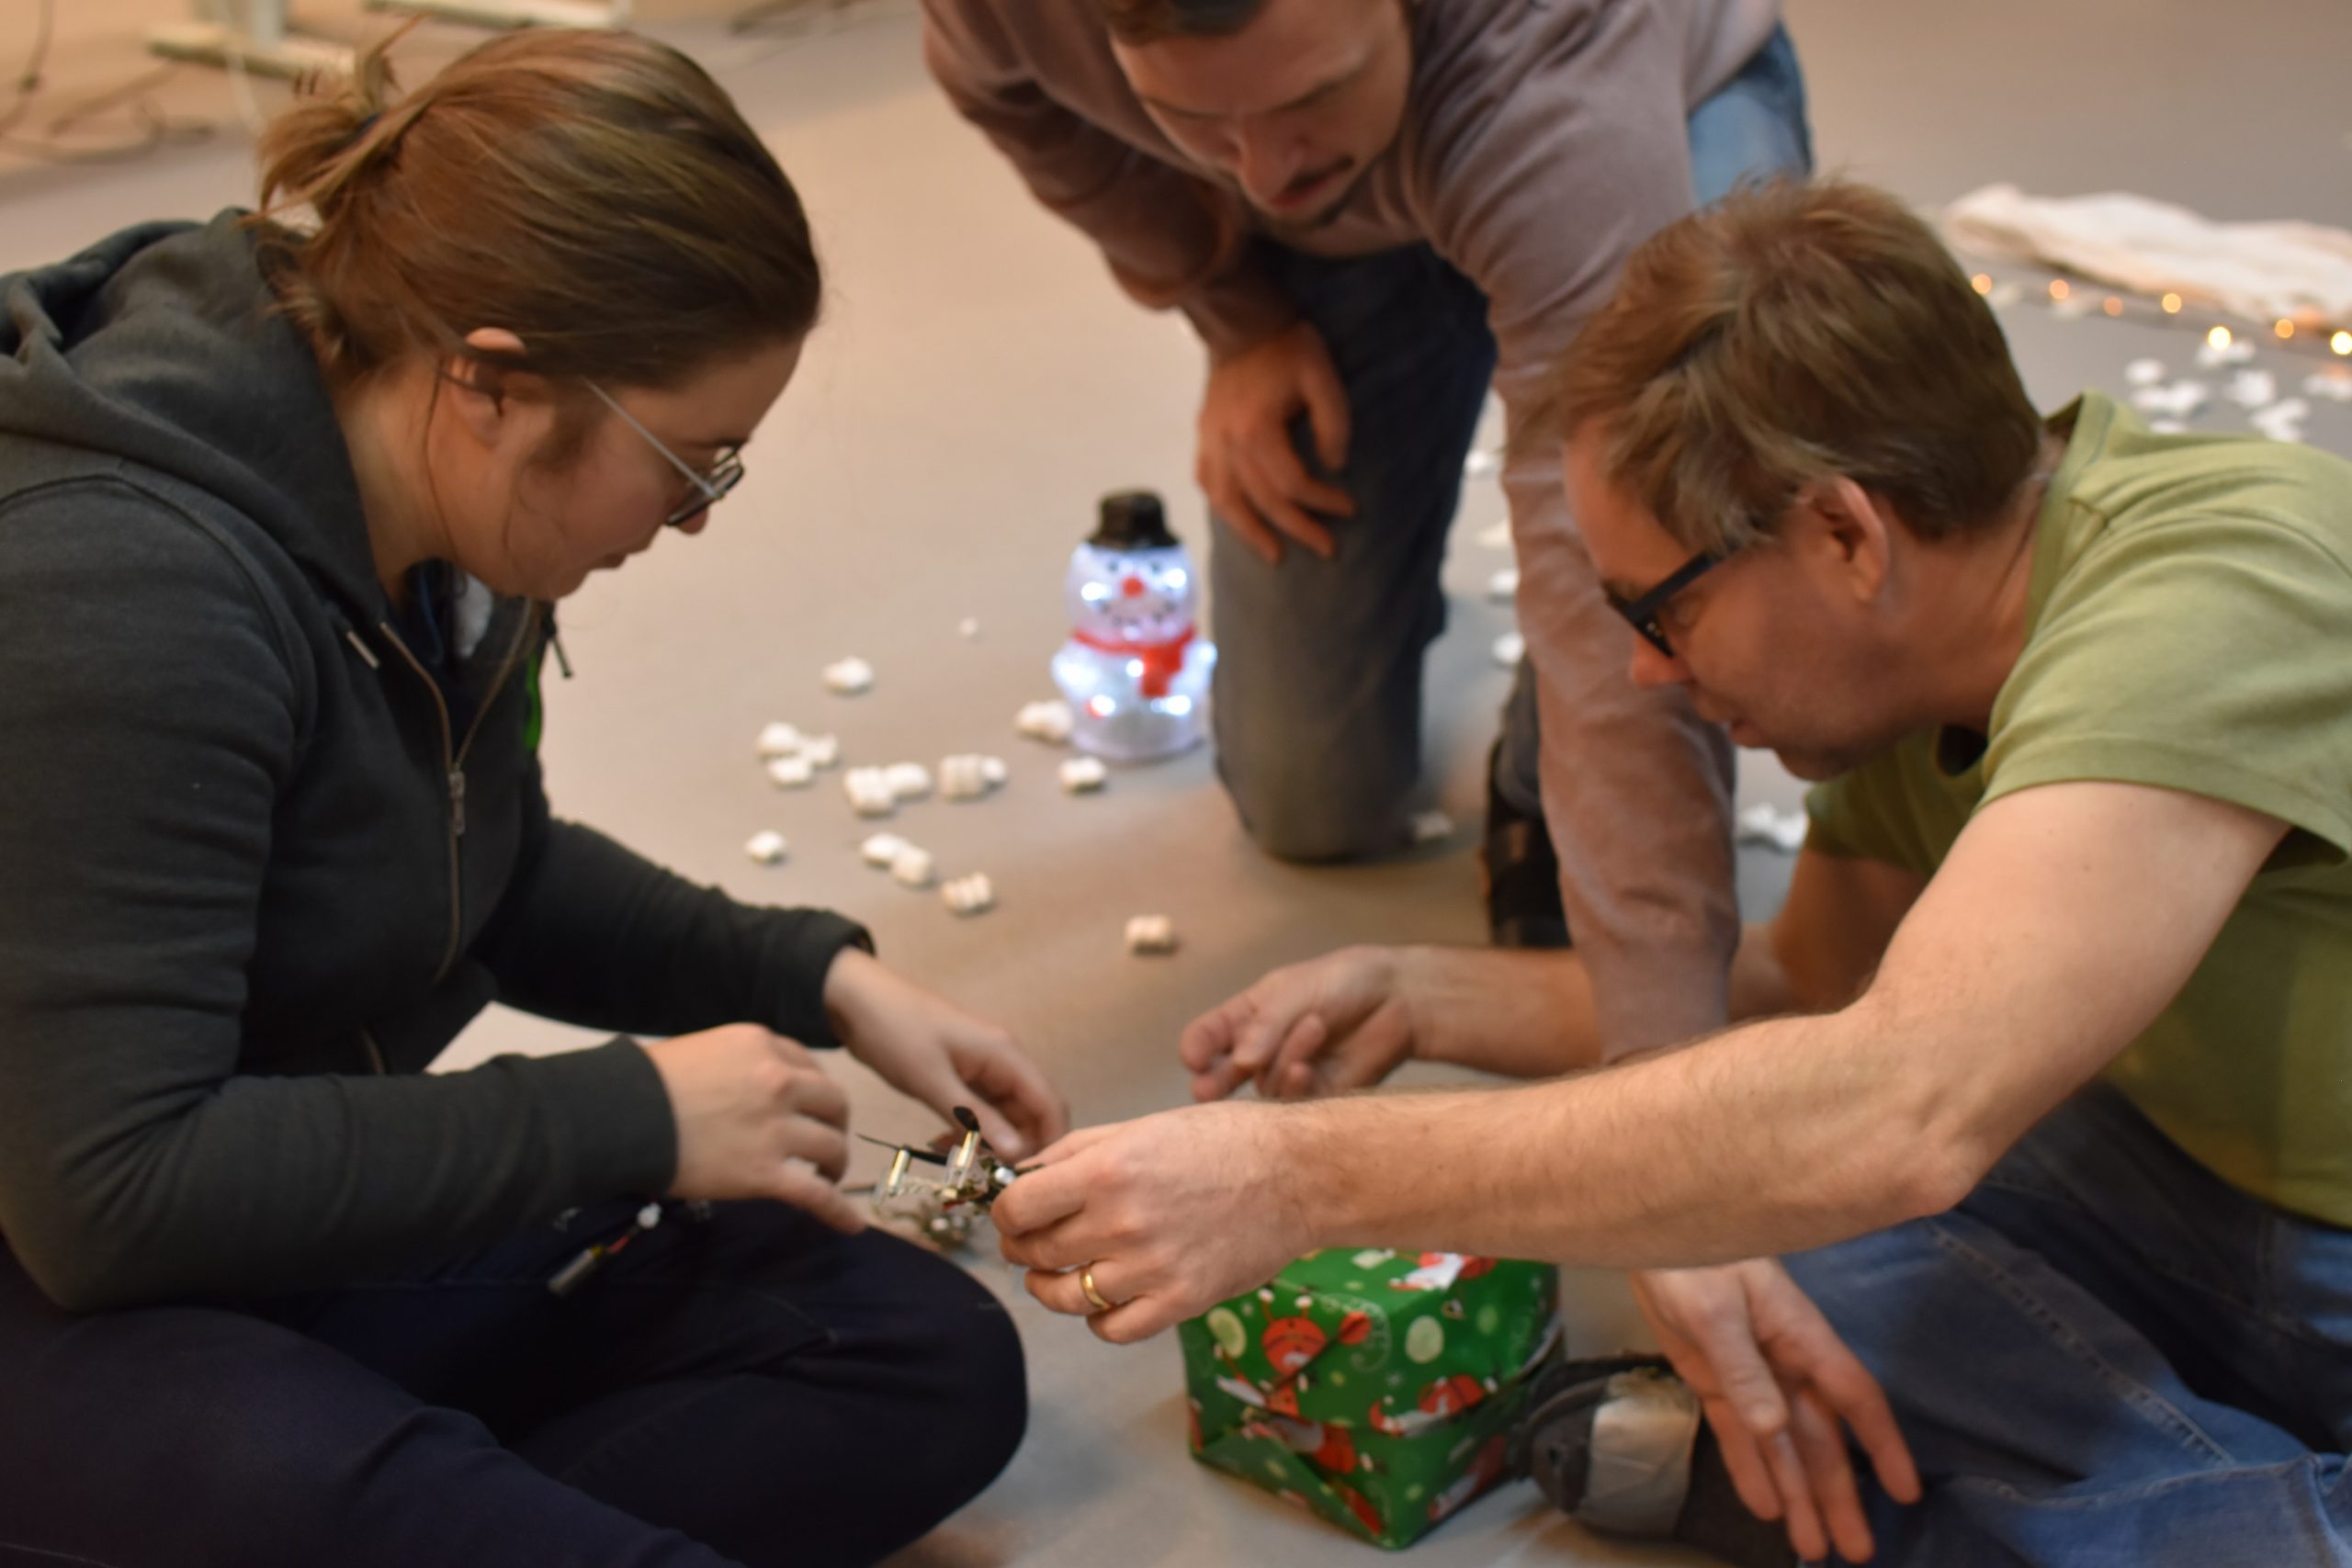
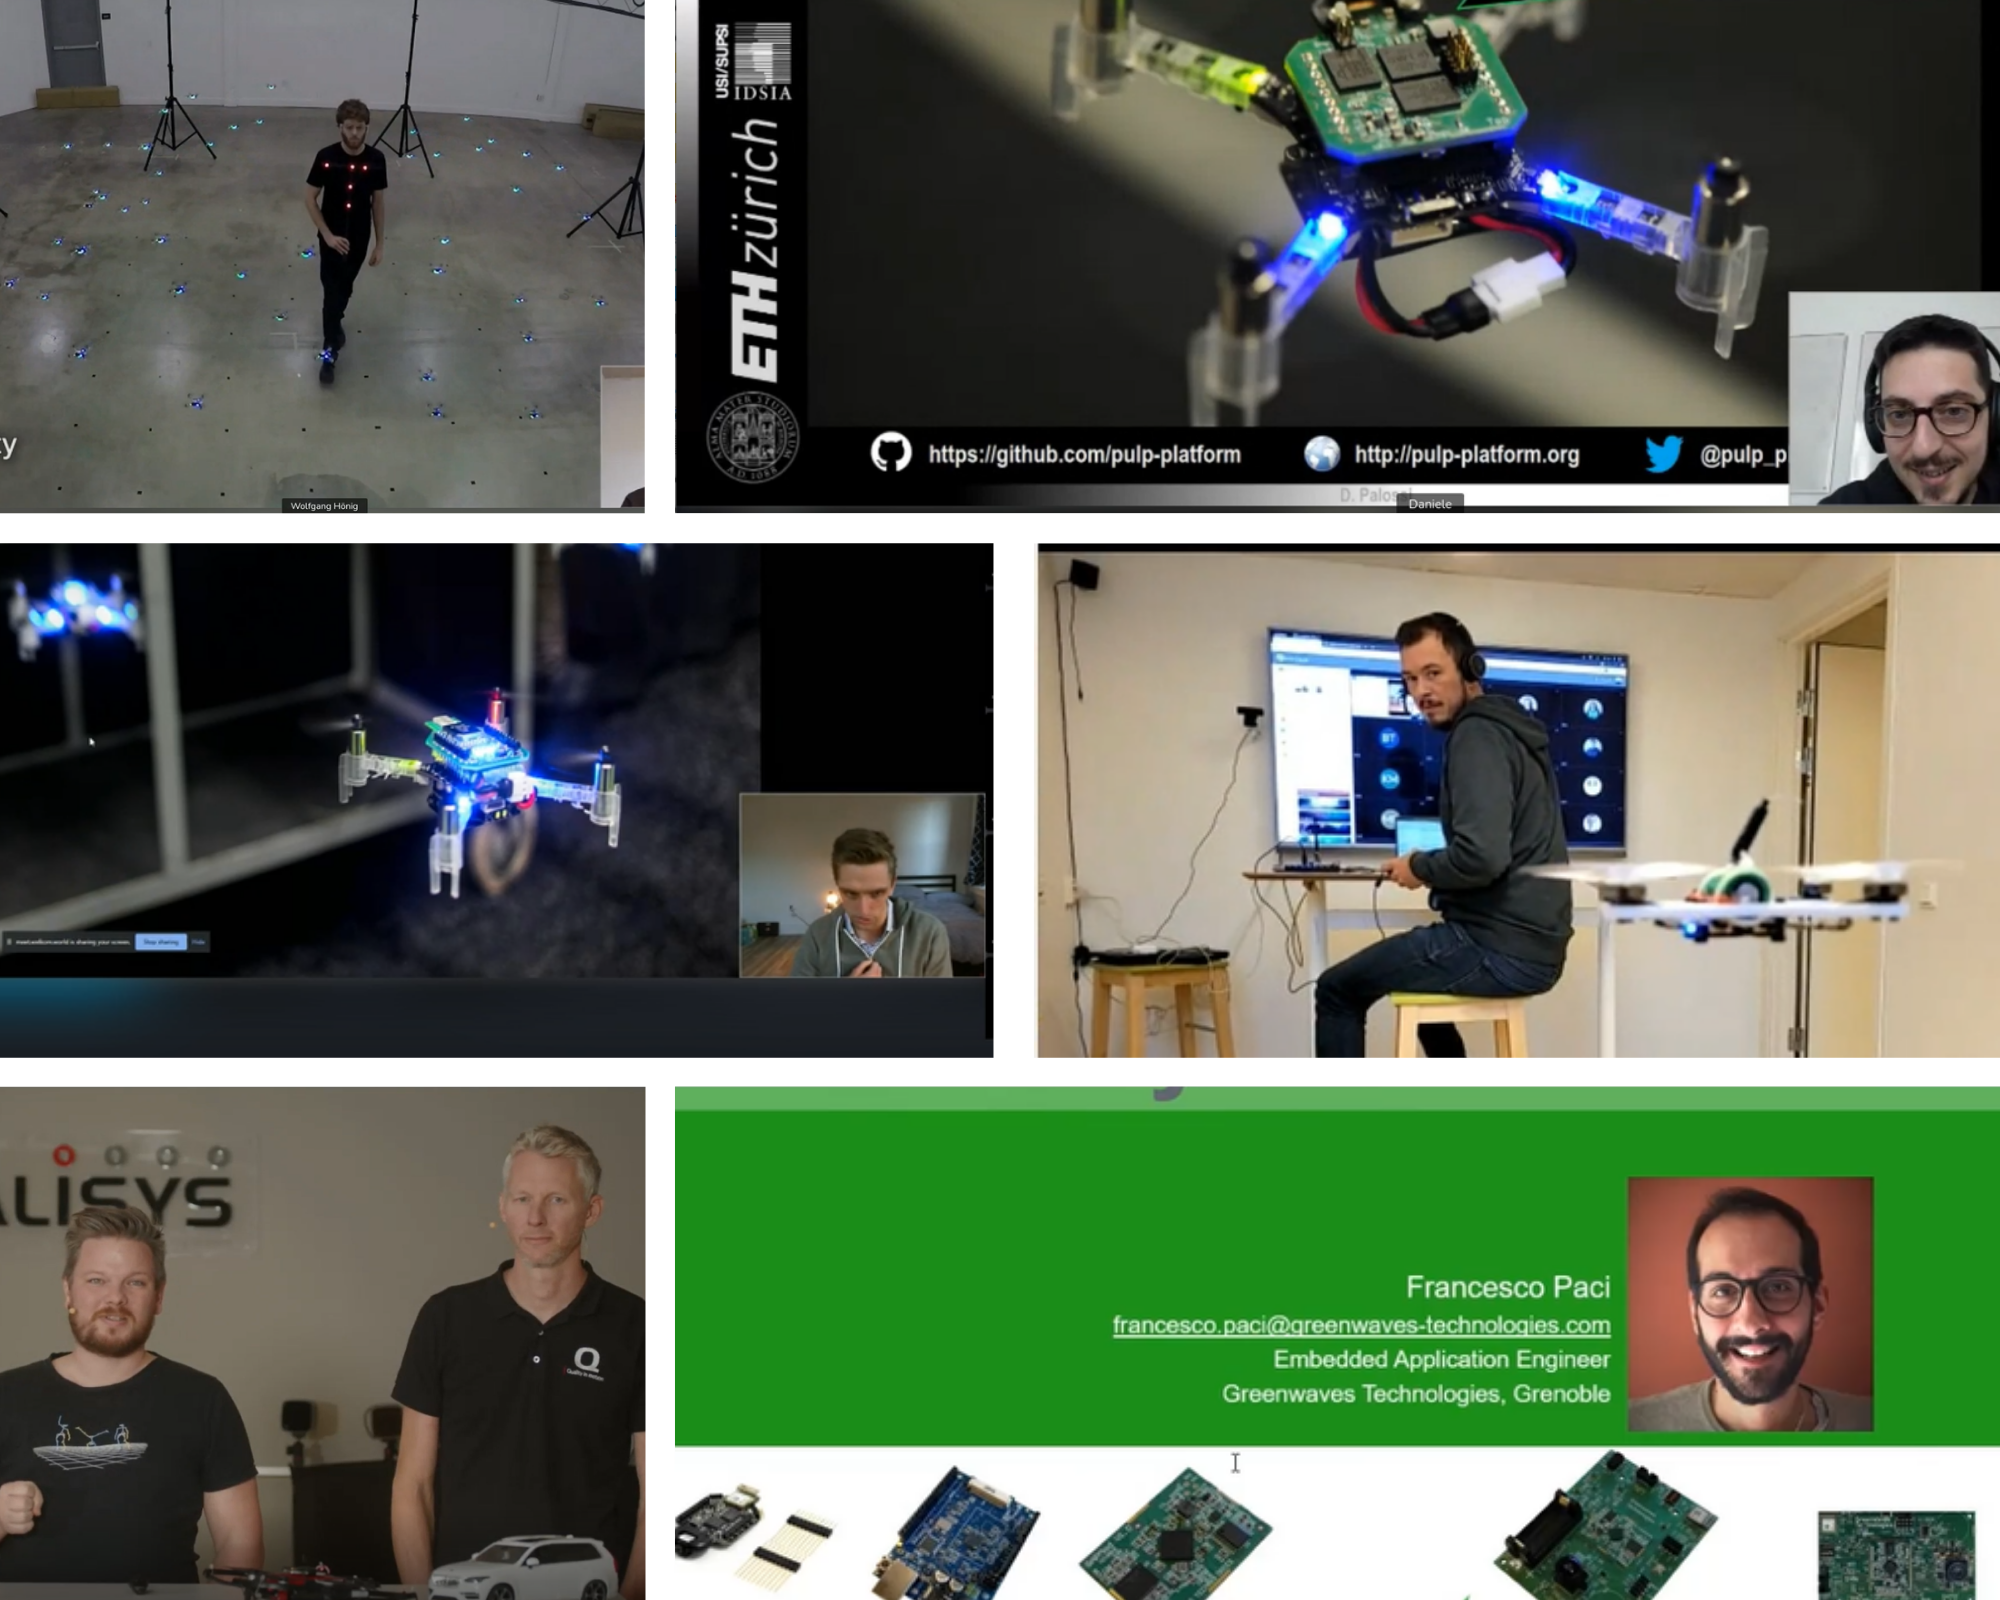
It’s no news to you, but keeping in touch with our community during a pandemic has forced us to try new ways to meet and interact. The main event for us this year has been the BAM days: our first conference held entirely by ourselves, full of exciting talks and fun, and we’re very happy with how it went down! You can still watch the talks we hosted during those three days in our dedicated Youtube playlist.
Guest blogposts
Once again, we’ve had the honor to host some awesome guests on our blog, which you can read (or re-read) here:
- Real-time control of a swarm of Crazyflies in artificial forests
- Sniffy Bug: A Fully Autonomous Swarm of Gas-Seeking Nano Quadcopters in Cluttered Environments
- Ultra-Wideband Swarm Ranging
- Robust Kalman Filter for Ultra-wideband Localization
Software
We had 3 releases this year, (one in January, one in March and one in June). We worked a lot on improving things like the Crazyflie logging and parameter interface or wondered how to deal with our API. We’ve also implemented a new way to store things, and we now have new, powerful persistent parameters.
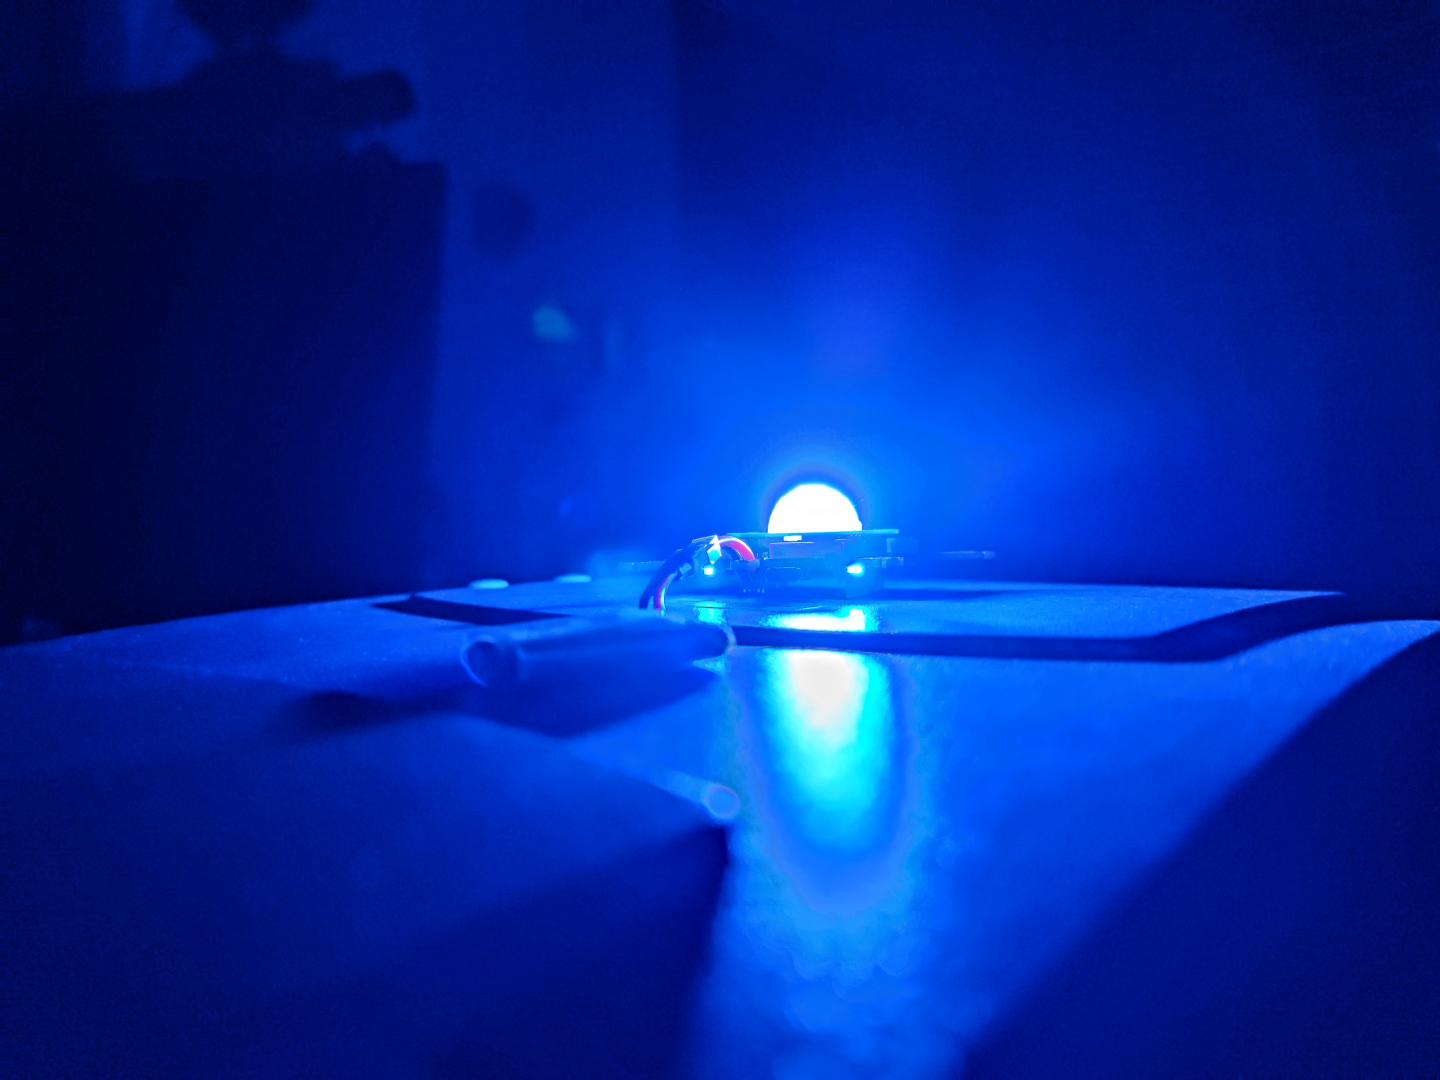
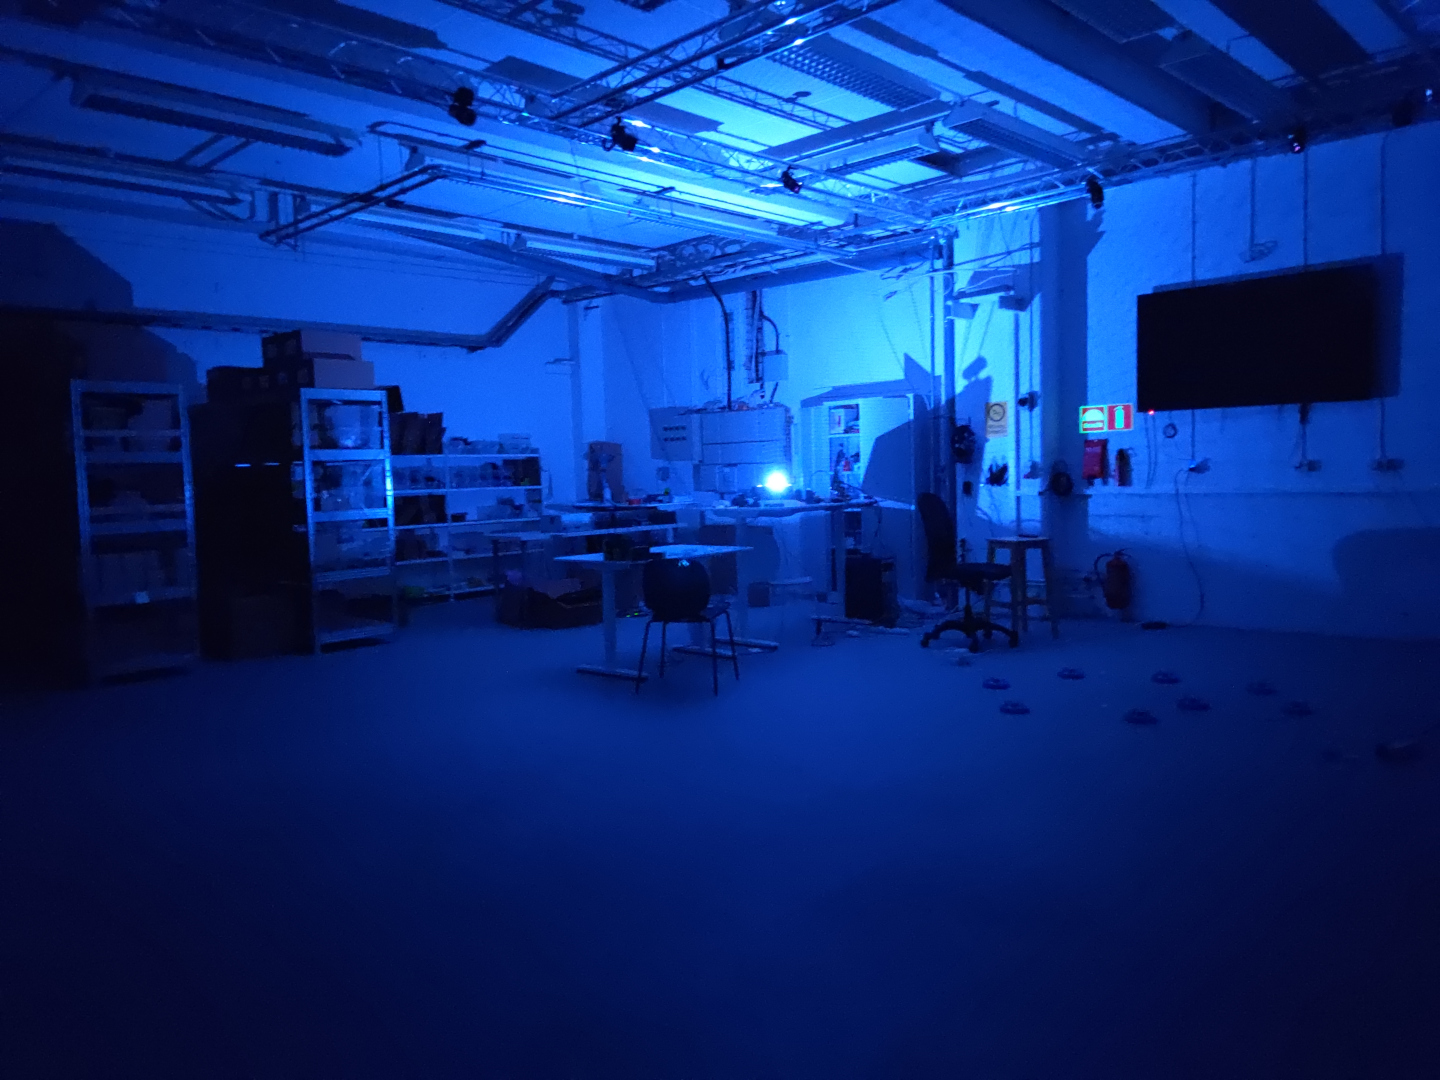
Thanks to Jonas’ hardwork, we also set up a “crazy lab” here in Malmö. During Fun Friday, Arnaud has been experimenting with Rust, working on a webclient.
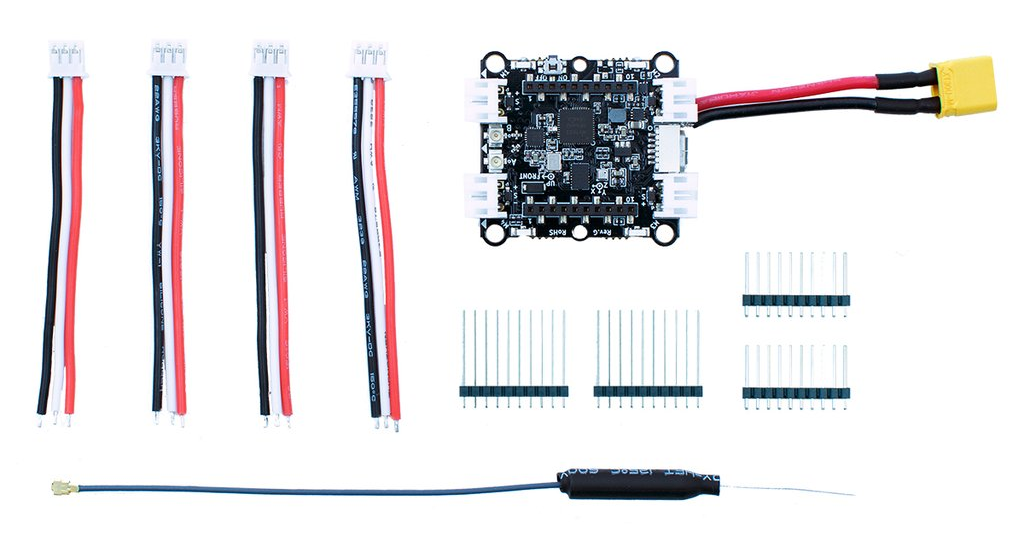
Hardware
We’ve been dealing since 2020 with a hardware crisis. The component shortage has made production erratic and difficult, and for the first time in Bitcraze’s history, we’ve had to increase our prices.
Lighthouse
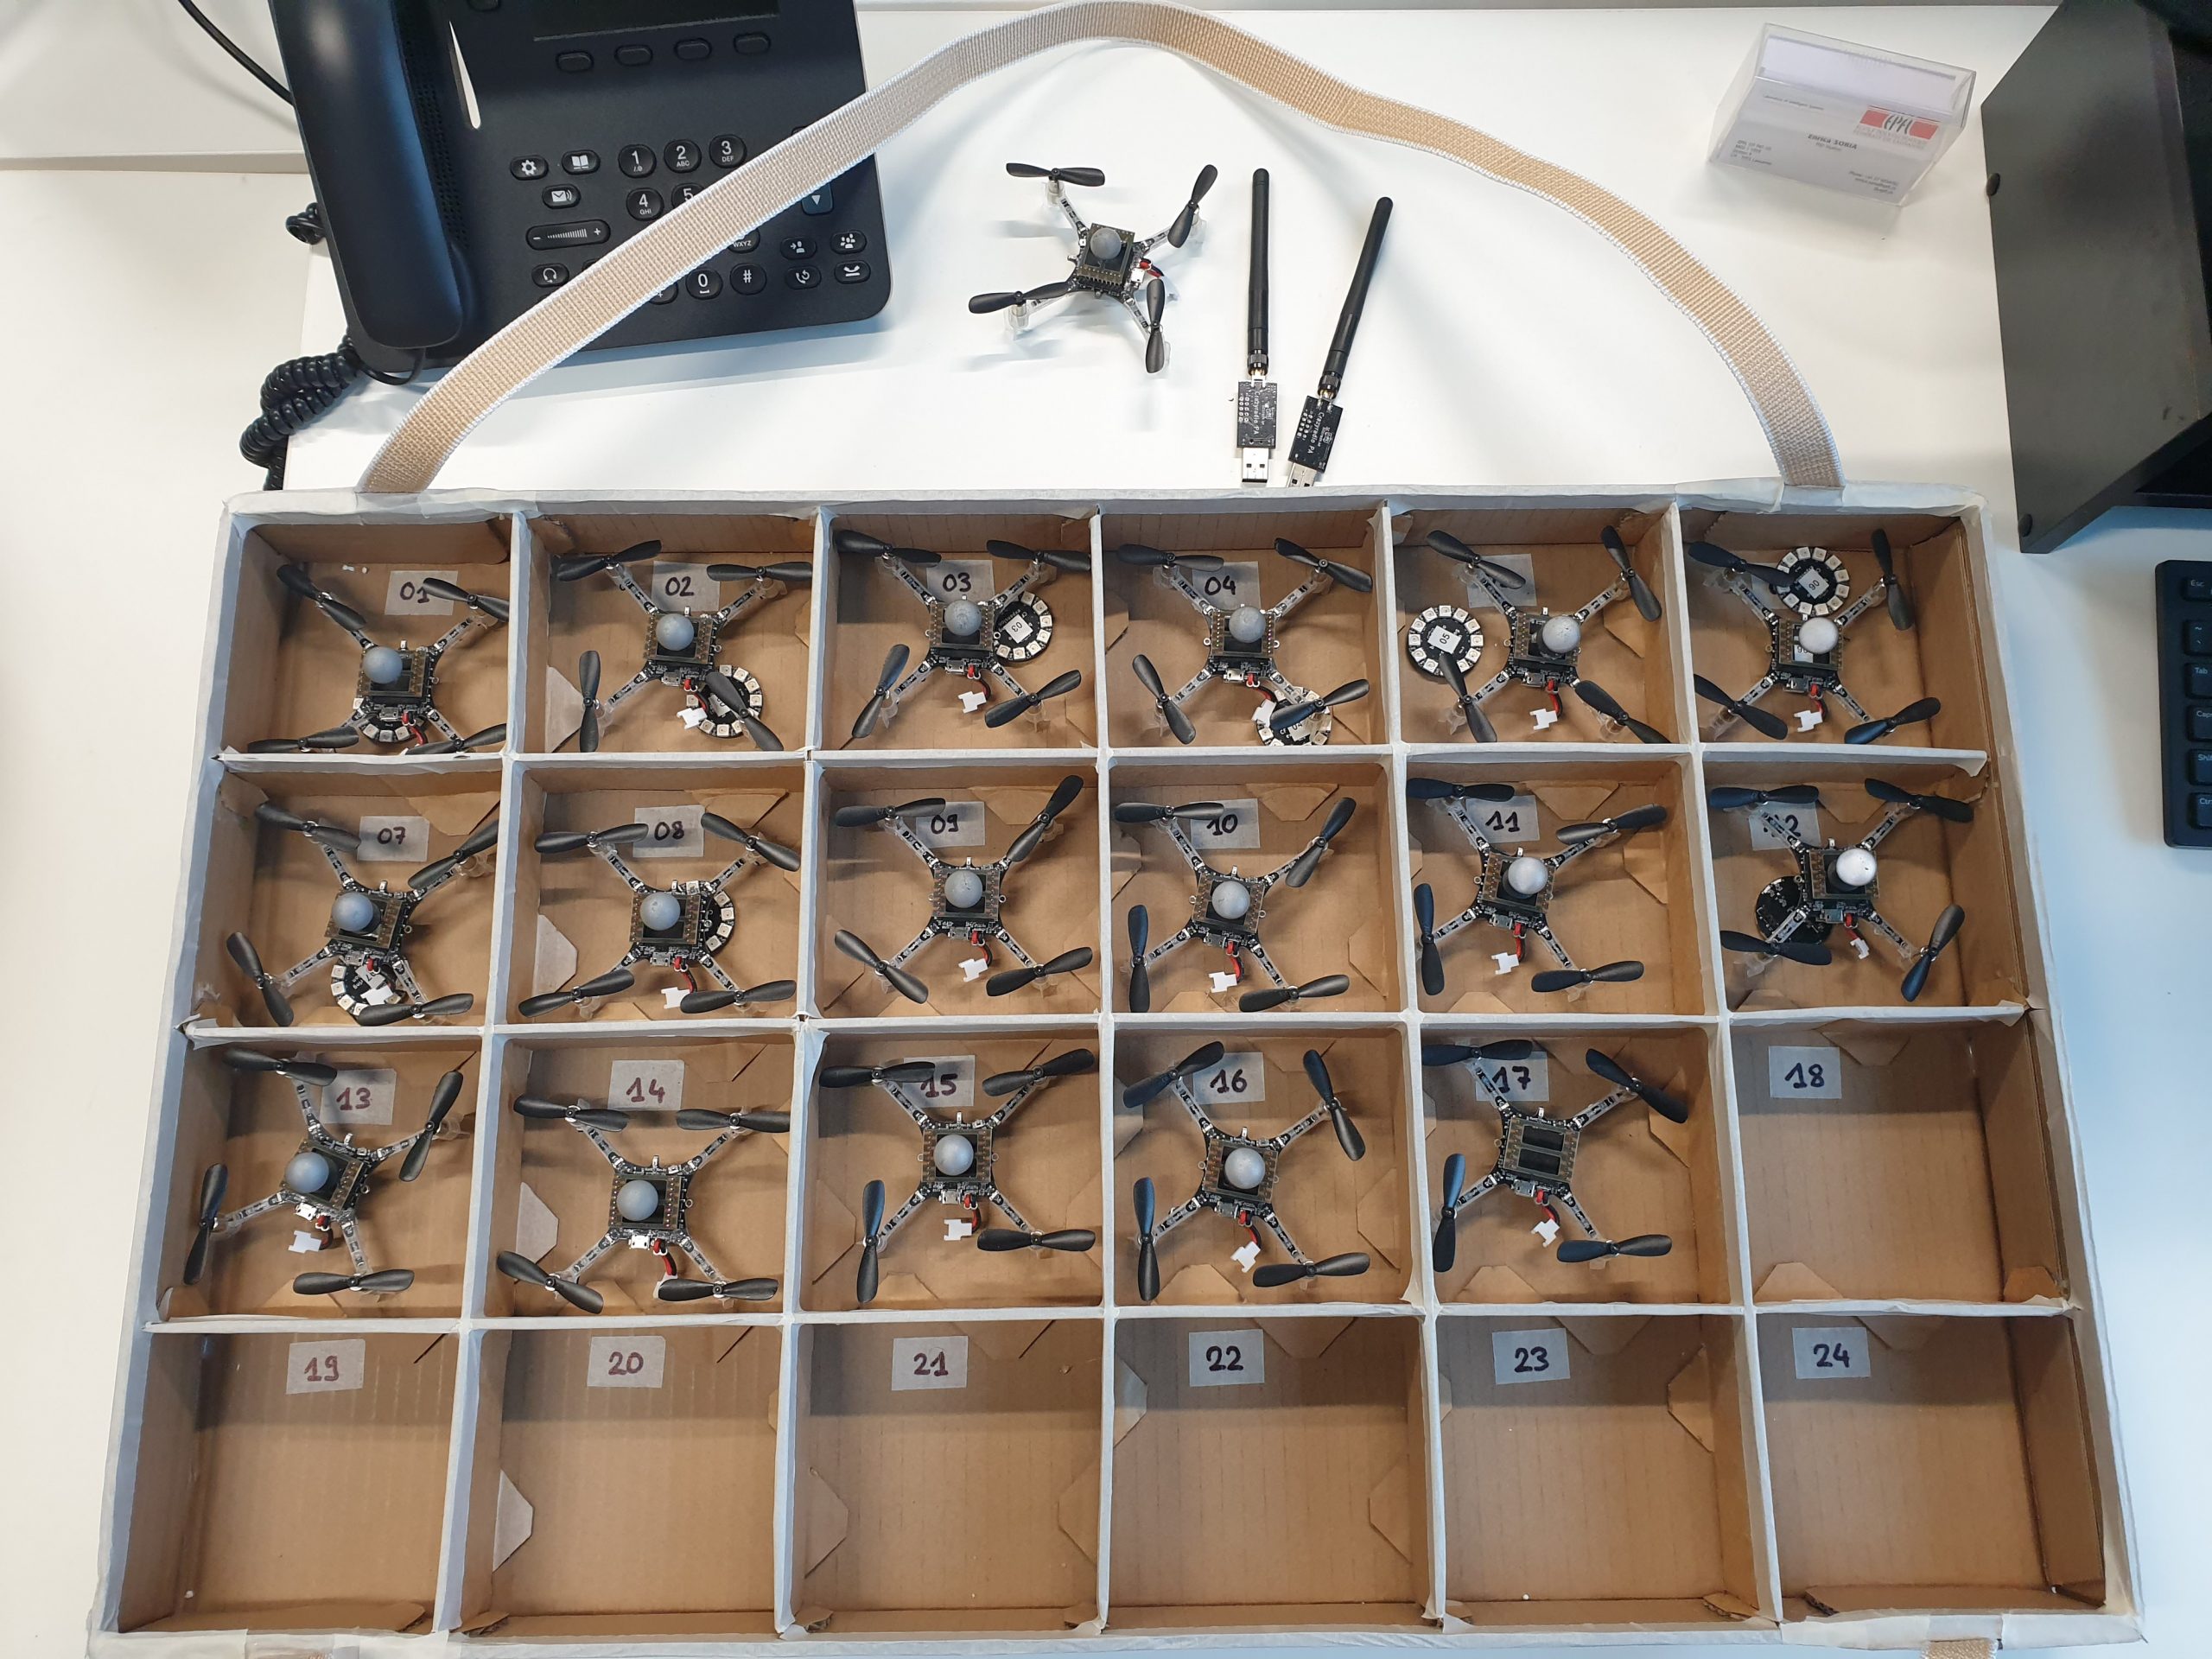
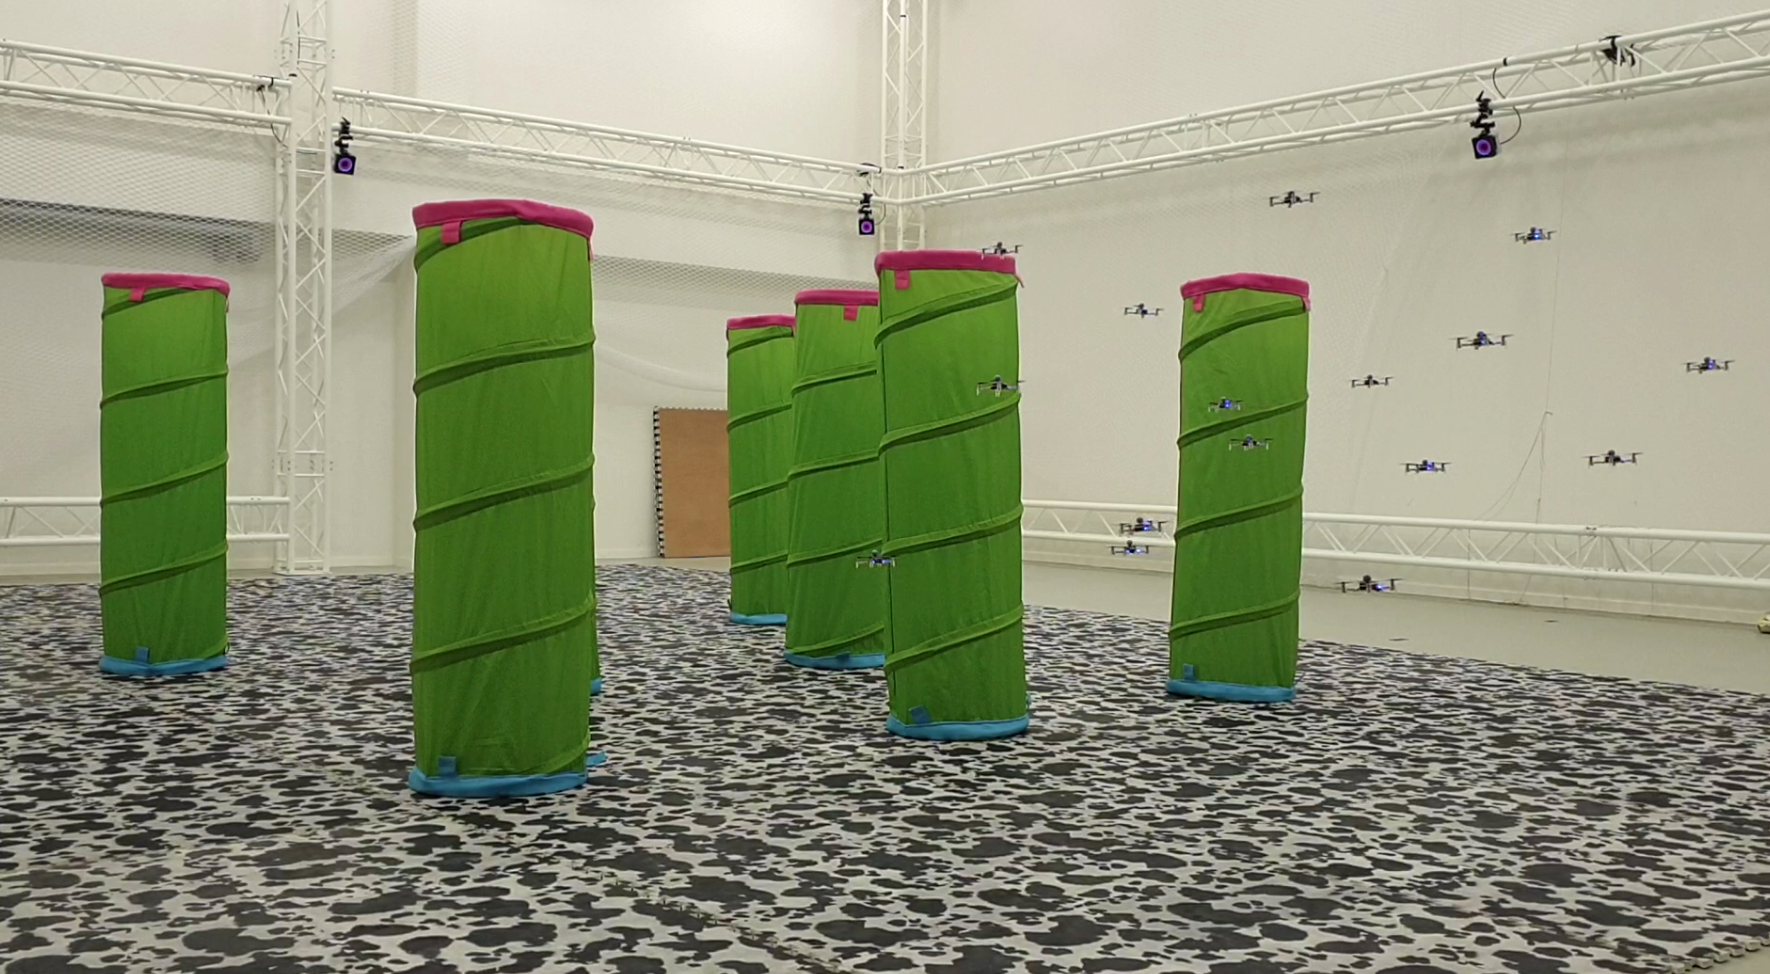
The first part of the year was dedicated to the Lighthouse system. At the beginning of the year, we finally got it out of early access. We documented the new Lighthouse Functionality and even wrote a paper for ICRA about the Lighthouse accuracy with Wolfgang’s help. We created the Lighthouse swarm bundle, getting every element to fly a swarm with this positioning system.
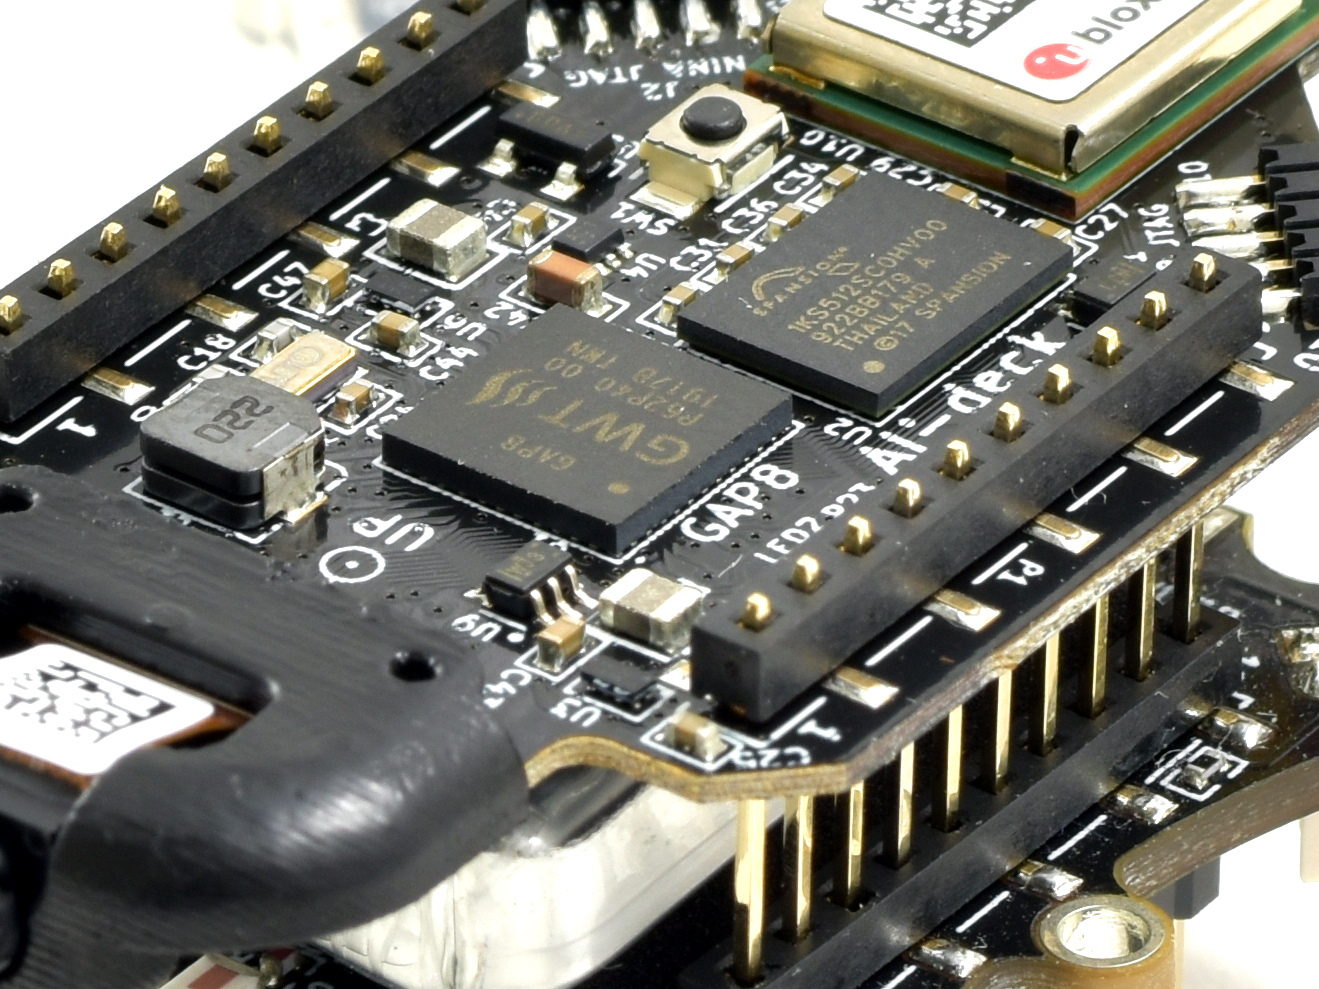
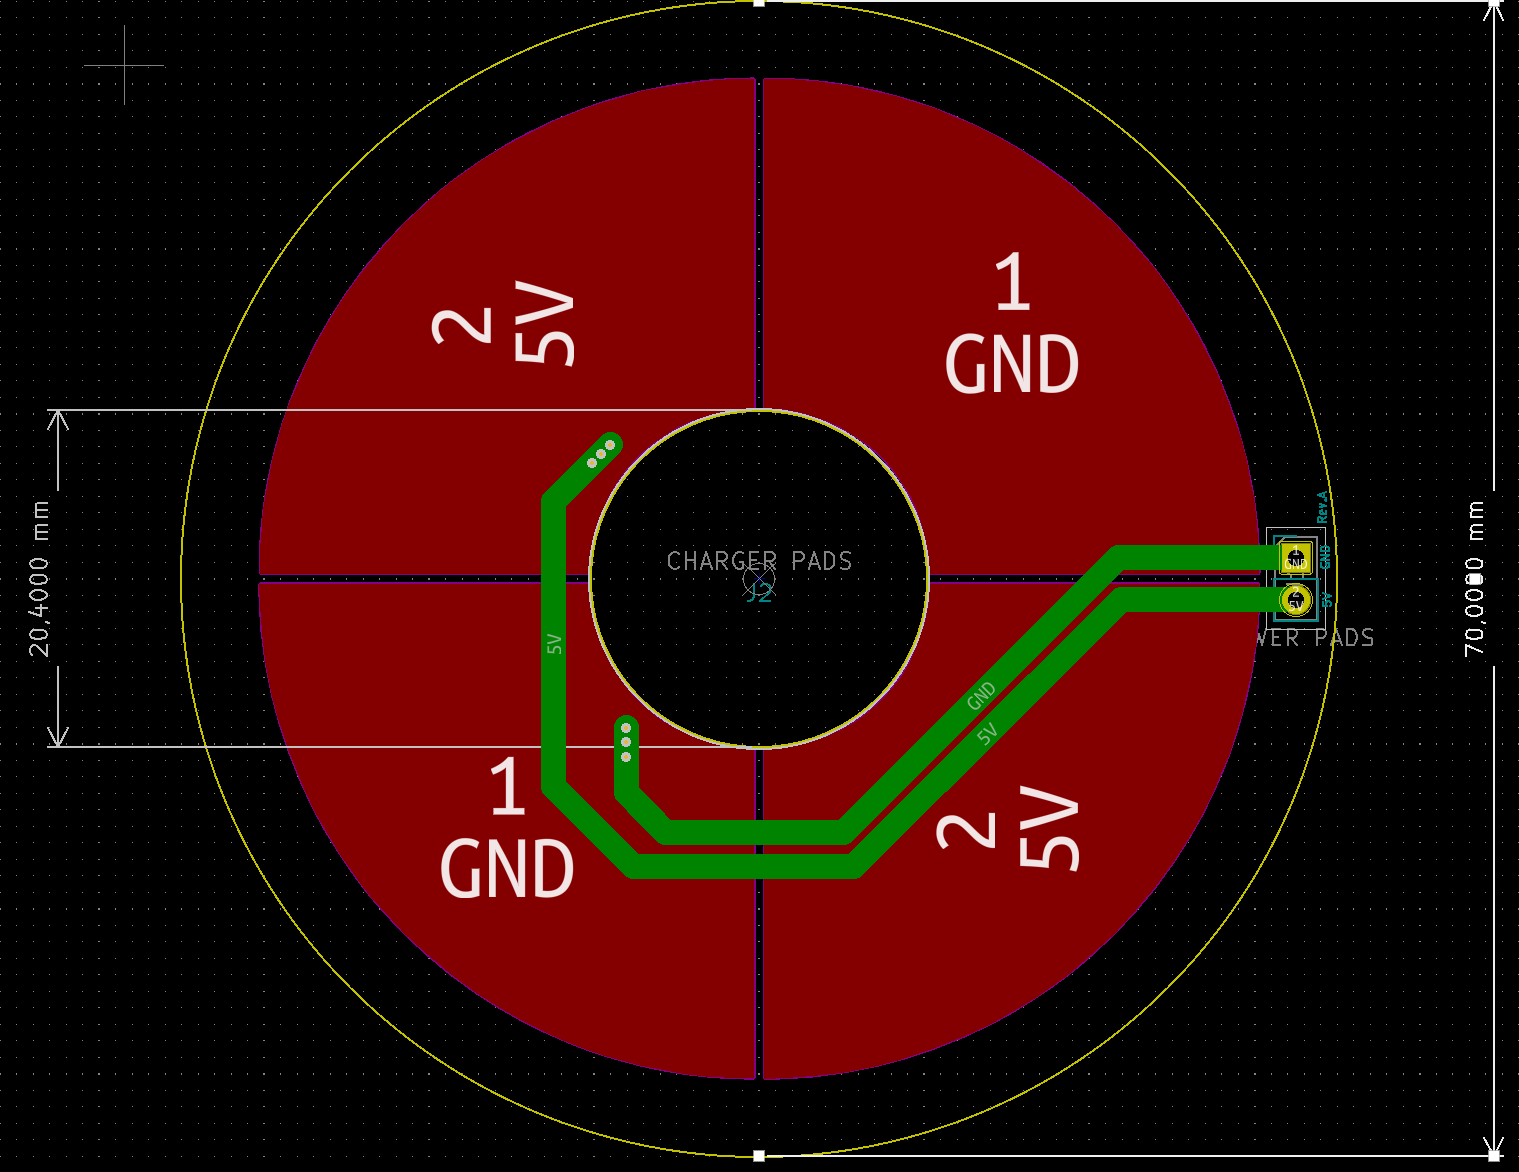
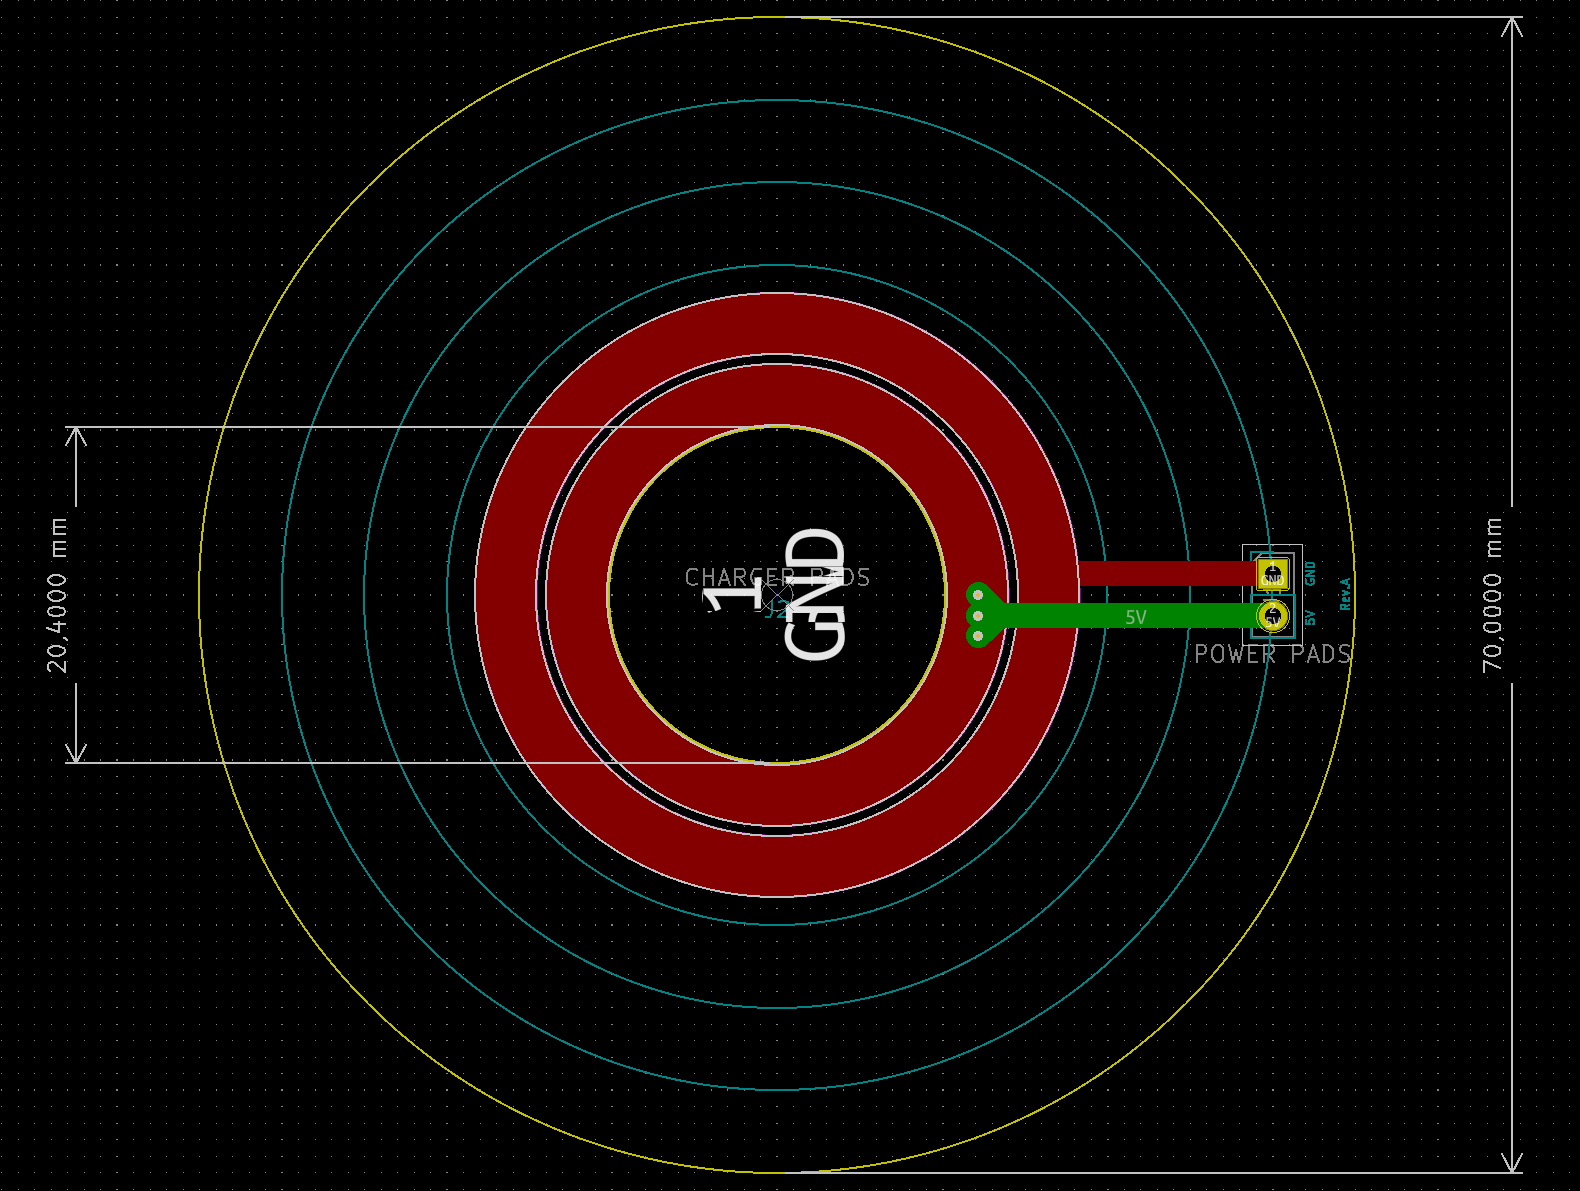
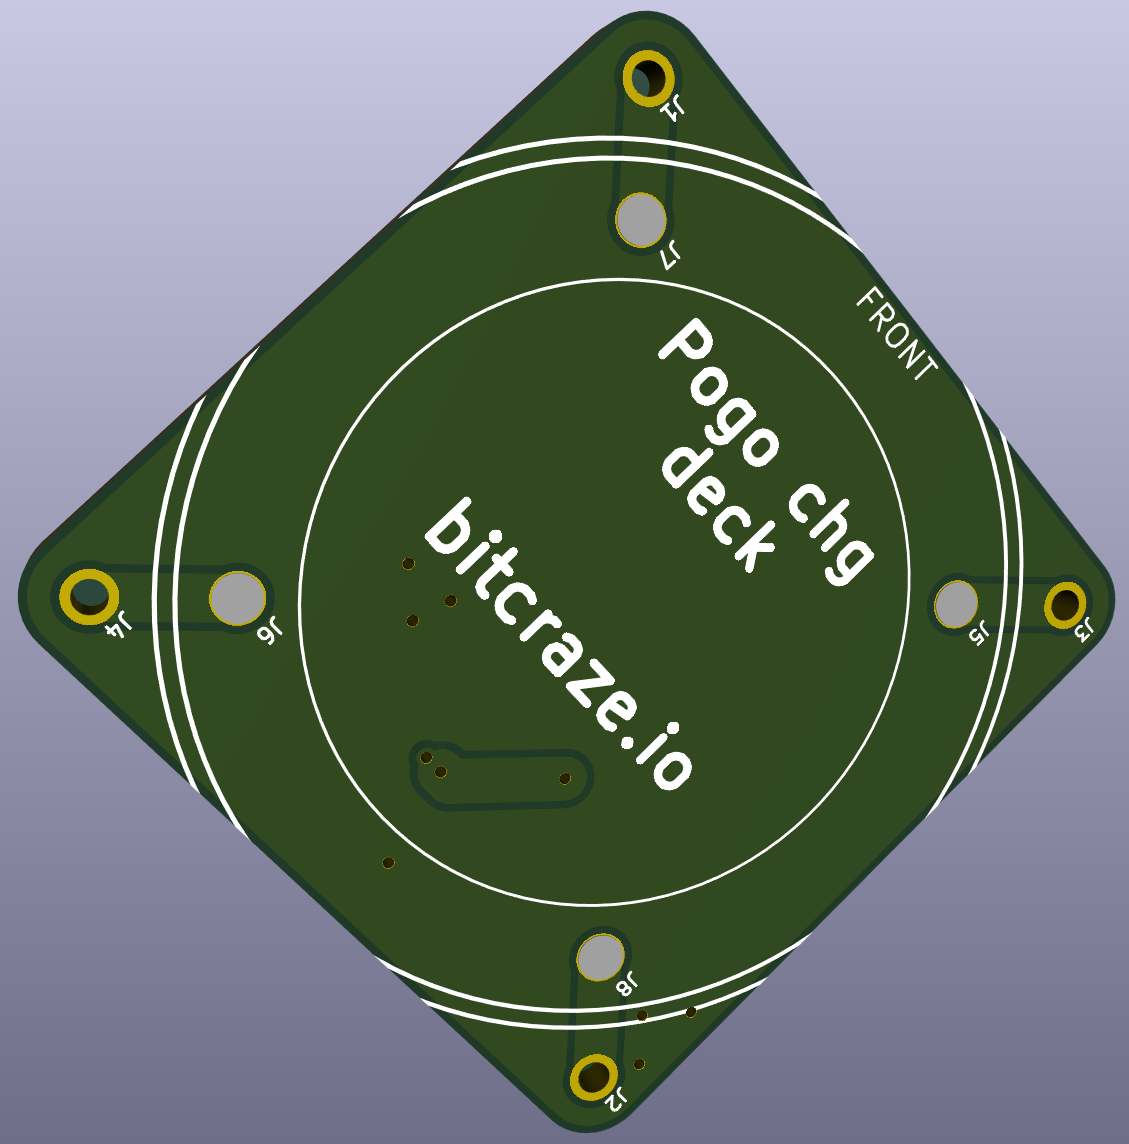
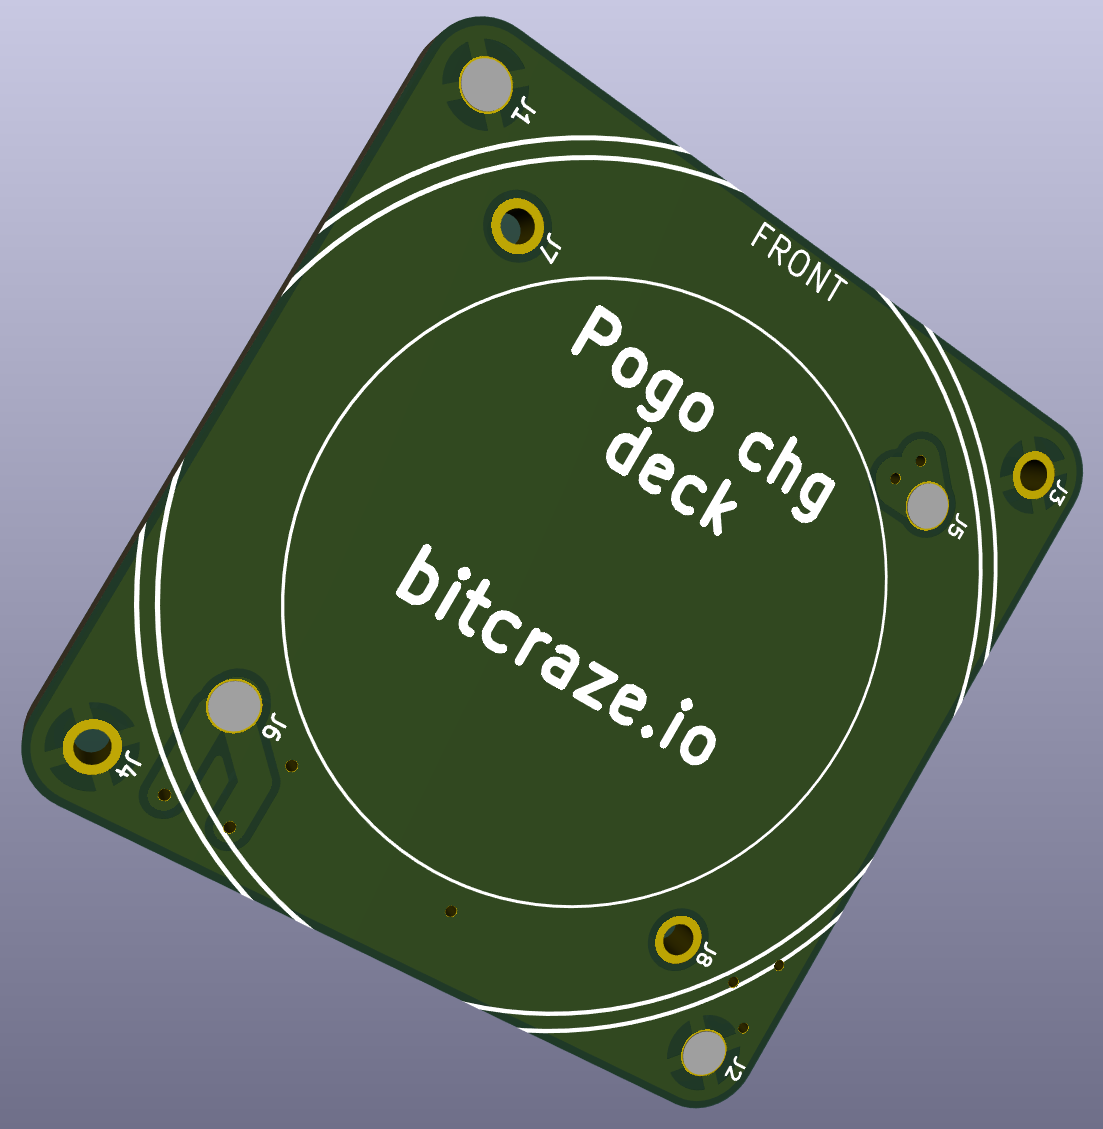
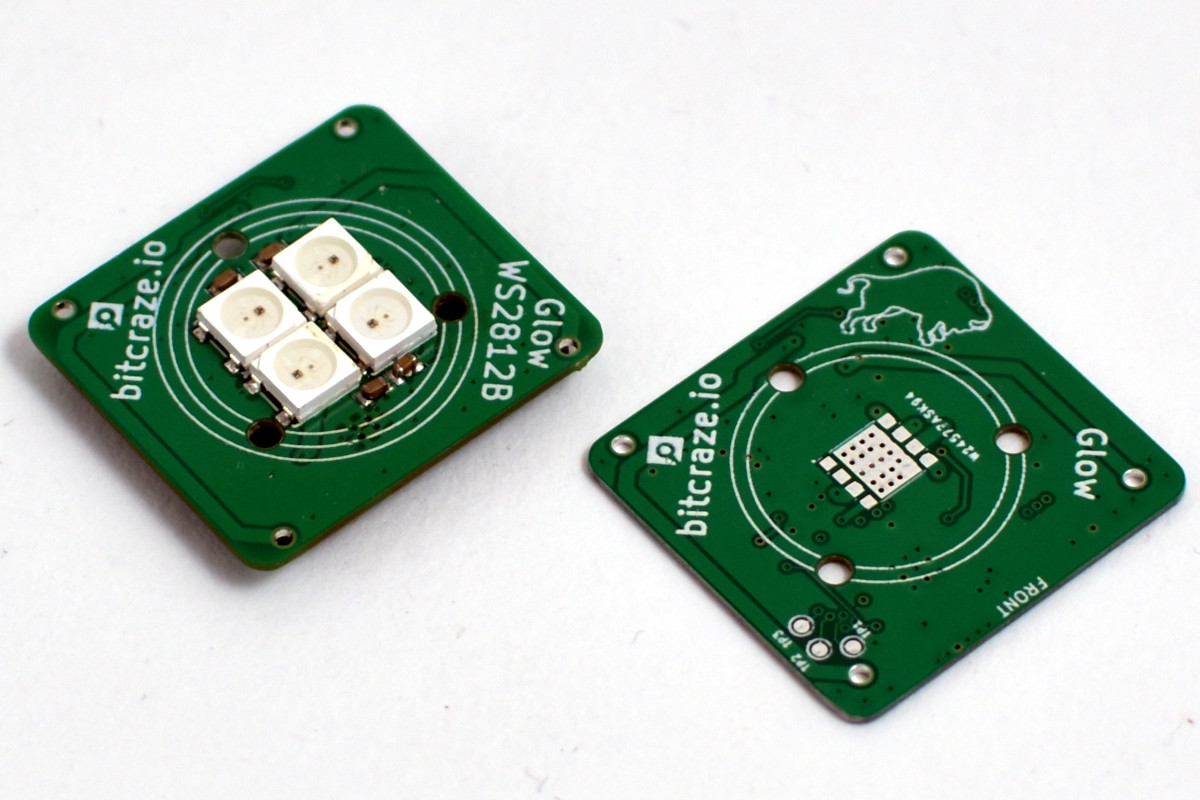
AI deck
We worked a lot on the AI deck this year. We upgraded to the AI deck 1.1, with a gray-scale camera and a newer version of the GAP-8. Part of this work was also to improve the documention and informations we had on it. We had a workshop with PULP, and dreamed of a mega-tutorial.
Documentation
As usual, we’ve been trying to improve our documentation. This year, it included an API reference in our Python library , and rethinking our structure
Bitcraze
Bitcraze has once again increased in numbers, as we welcomed into our ranks Jonas. We were also really happy to add Wolfgang to the team for a few months, as well as Rik, an intern from MAV-lab.
The biggest event this year for us was our 10 year anniversary. That’s right, Bitcraze turned 10 in September, and we tried to celebrate it as much as possible ! With a nice outing and with the BAM days, but also with a video trying to show what 10 years of Bitcraze looks like: