The STEM drone bundle
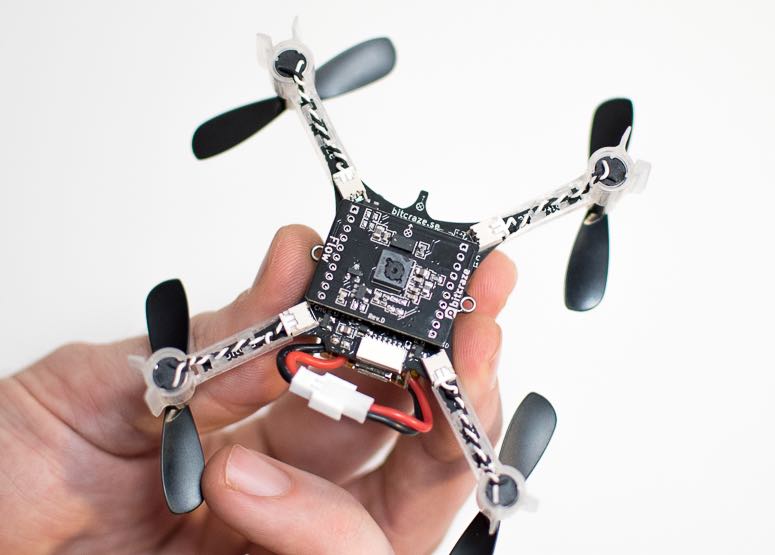
The STEM (Science Technology Engineering Mathematics) drone bundle is based on a Crazyflie 2.x with a Flow deck V2 . It is an autonomous drone that can be controlled from a simple python script to explore and operate a robot in 3 dimensions.
This getting started guide will help you set up the system and make your first autonomous flight.
required hardware
- 1 x Crazyflie 2.x kit
- 1 x Crazyradio 2.0 or Crazyradio PA
- 1 x Flow deck V2
prerequisites
This getting started guide assumes you have already assembled your Crazyflie 2.x. If that is not the case please follow the Getting started with the Crazyflie 2.0 or Crazyflie 2.1(+)
This guide also requires that you have updated the Crazyflie to the latest firmware. For more information on how to update the firmware, see the update firmware in the Crazyflie section in our getting started with Crazyflie 2.x tutorial.
mounting the flow deck
Mount the Flow deck V2 underneath the Crazyflie 2.x using the long pin-headers supplied with the Crazyflie 2.x Kit.

For more information about how to mount an expansion deck please see the Getting started with expansion decks tutorial.
installing Python and the cflib
The backend library used to control the Crazyflie 2.x is called cflib and is written in python 3. To use it you must have Pyhton 3 installed on the computer and it can be downloaded here.
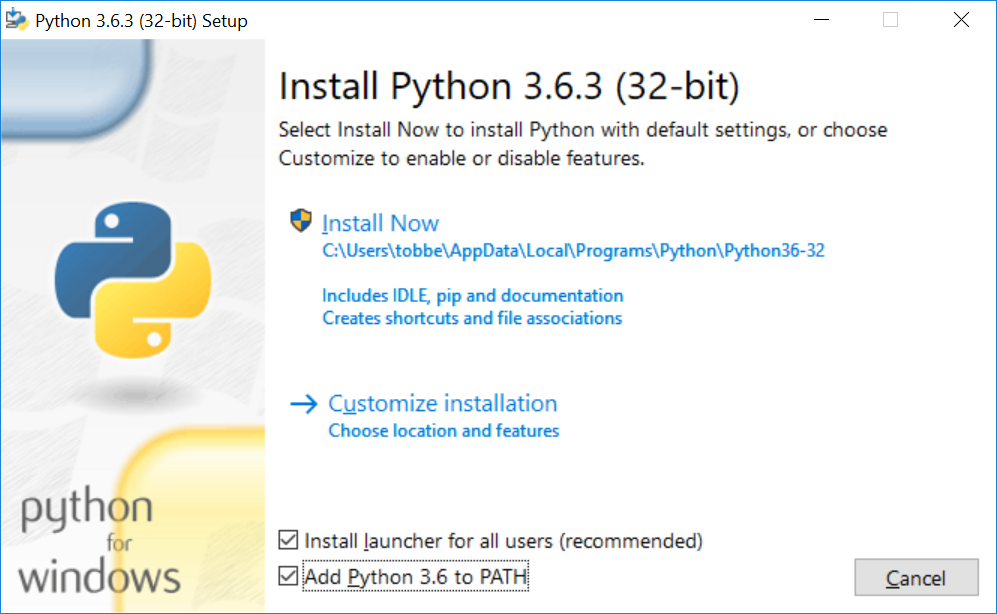
Install python using the standard settings, and for convenience tick the Add to PATH checkbox.

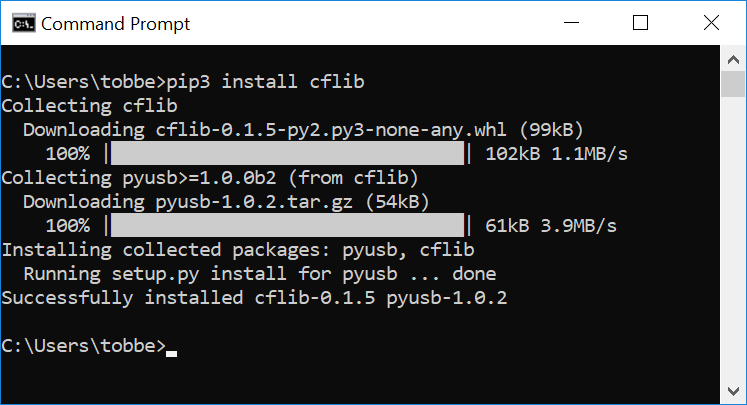
When python 3 is installed, open a command prompt and install the cflib using pip.
Type pip3 install cflib in the command prompt

The following instructions have been tested on Ubuntu 22.04.
To install Python, pip and the Crazyflie library run the following commands:
sudo apt-get install python3 python3-pip idle3
pip3 install cflib
Your user needs access to USB devices in order to use the Crazyradio, run the following lines to grant access. After the command is run the Crazyradio needs to be inserted again for the rules to take effect.
sudo groupadd plugdev
sudo usermod -a -G plugdev $USER
echo 'SUBSYSTEM=="usb", ATTRS{idVendor}=="1915", ATTRS{idProduct}=="7777", MODE="0664", GROUP="plugdev"' | sudo tee /etc/udev/rules.d/99-crazyradio.rules
running your first flight script
Now when everything is setup and installed start the Python editor IDLE3. Select File->New and copy/past the script below into the new script. Save the script with a suitable name.
"""
This script shows a simple scripted flight path using the MotionCommander class.

Simple example that connects to the crazyflie at `URI` and runs a
sequence. Change the URI variable to your Crazyflie configuration.
"""
import logging
import time

import cflib.crtp
from cflib.crazyflie.syncCrazyflie import SyncCrazyflie
from cflib.positioning.motion_commander import MotionCommander

URI = 'radio://0/80/250K'

# Only output errors from the logging framework
logging.basicConfig(level=logging.ERROR)


if __name__ == '__main__':
    # Initialize the low-level drivers (don't list the debug drivers)
    cflib.crtp.init_drivers(enable_debug_driver=False)

    with SyncCrazyflie(URI) as scf:
        # Arm the Crazyflie
        scf.cf.platform.send_arming_request(True)
        time.sleep(1.0)

        # We take off when the commander is created
        with MotionCommander(scf) as mc:
            print('Taking off!')
            time.sleep(1)

            # There is a set of functions that move a specific distance
            # We can move in all directions
            print('Moving forward 0.5m')
            mc.forward(0.5)
            # Wait a bit
            time.sleep(1)

            print('Moving up 0.2m')
            mc.up(0.2)
            # Wait a bit
            time.sleep(1)

            print('Doing a 270deg circle');
            mc.circle_right(0.5, velocity=0.5, angle_degrees=270)

            print('Moving down 0.2m')
            mc.down(0.2)
            # Wait a bit
            time.sleep(1)

            print('Rolling left 0.2m at 0.6m/s')
            mc.left(0.2, velocity=0.6)
            # Wait a bit
            time.sleep(1)

            print('Moving forward 0.5m')
            mc.forward(0.5)

            # We land when the MotionCommander goes out of scope
            print('Landing!')
Run the script by pressing F5.
Note: If you have the python client open, make sure the Crazyflie is disconnected from it. The Crazyradio does not support connections from multiple programs simultaneously and the script will not work if the Crazyflie still is connected to the python client.
The output should look similar to this.
Connecting to radio://0/80/250K
Connected to radio://0/80/250K
Taking off!
Moving forward 0.5m
Moving up 0.2m
Doing a 270deg circle
Moving down 0.2m
Rolling left 0.2m at 0.6m/s
Moving forward 0.5m
Landing!
the script in action!
what's next?
- Explore the motion commander class. The class can do more then simple directional commands such as scripting using speed and time or together with events.
- Try out the logging and parameter framework. The basic logging is a good example to start from or digg into the details on the documentation.
- Connect a gamepad and with the Flow deck V2 to try optical flow stabilized flight. See the Getting started with the Flow deck tutorial.
- Add one of the many expansion deck boards, build your own deck using Prototyping deck or even design it from ground up using the KiCad deck template.